44. thankfulness 360

it’s my new project.

you’ll see it up there on my pages.

i’m not advertising me, just suggesting it to you.

because…

it is helping me find joy and gratitude again.

i would say

snap out of it, self.

look at your blessings!

my husband said,

what do you have to be depressed about?

he’s right of course.

he usually is (at least about the stuff that matters….)

i blamed it on winter and no sun.

I blamed it on the busy-ness of holidays.

i blamed it on all the bad stuff that’s been happening

everywhere

around the world

there…here…far…near…

it was Christmas, for goodness sake.

the Joyful time of year.

Merry.

i wasn’t.

so i’m taking pictures

every day.

photographing

all that makes me smile,

noticing

the little blessings that make me happy.

and i’m finding it again.

each day with each small thing

i think

is this the one i want to photograph?

and now i’m walking around all day long

thinking about saying thank you to the Creator

because

i.have.so.much.

my heart is overflowing again.

because

of one little project.

you don’t even have to look at my photos.

take your own.

and give thanks.

43. ReHabitat-ing the Yellow Bedroom, Part 2

Today was a double blessing day: our long awaited, too-expensive, gorgeous kitchen faucet arrived; and, in the mail was my reVive box from reHabitat, the fabulous design team who took on The Yellow Bedroom. (see post 37. ReHabitat-ing the Yellow Bedroom.)

ReHabitat ReVive Box

I was good. I did all my chores first, and then I cleaned off the table, made a cup of tea, and sat down with my treasure — all the while admiring the cool packaging.Inside the reVive Box
What caught my eye first was the beautiful fabric that was folded up inside — a gorgeous embroidered square of fall colored leaves. I love foliage!Inside the reVive Box
The next goodie was a whole page of accessories and photos layered on swatches of colors — a design board for inspiration. Bedding, lamps, curtain suggestions, all individualized to our room and our tastes. WOW! The best idea was a DIY headboard made from an old door, with a shelf on top for pictures, books, and candles. Umm, we’ve got some old doors hanging around…

Underneath the design board was the shopping list, which included websites and prices of most everything pictured on the design board. (The ceiling light and the closet doors were included just for inspiration.) I could just click away to PotteryBarn.com and look close up at the beautiful quilt. (Michael nixed it; he said it was too flowery!) Next to the shopping list was a palette of paint colors to choose from, and underneath that was the floor plan that showed us what pieces to use where.Floor plan from reVive Box
When my excitement settled down, I turned to read the pages of notes titled “We recommend…” (2 1/2 pages of recommendations!) Really, it just organized and clarified everything that had already been suggested, as well as gave us suggestions on how to prioritize, i.e., what would make the most difference (besides painting the yellow, of course!) The slide show below contains some of the suggestions — using what we have, interspersed with what we might want to purchase.

This slideshow requires JavaScript.

I am so excited about this; it was just what I needed to reVive my spirits! I’m thinking that I don’t want to get off track from the kitchen, but wouldn’t it be nice to have a serene, finished room while we’re busy working on everything else? A place where we could just shut the door and look outside and pretend? All we need is some paint and some new curtains and…

Now if only someone would just come and do the work for us????

42. Tackling the mudroom

This wonderful warm weekend I discovered that it’s not just the sun I miss during winter; I also miss being outside without coat, hat, mittens, and boots!

Wait! What’s that yellow glow? It’s the Sun!

It was really warm this weekend. Like 65 degrees warm! The sun was out occasionally, peeking through the clouds, but mostly it was gray. I didn’t mind. We turned the heat off in the cottage, and opened the doors. Henry went in and out and was happy. I went in and out and was happy. We even had a bonfire on Saturday night (just a small one) and it was warm enough to stand outside next to it WITHOUT jackets! Mother Earth Farm –the garden center next to the cottage (How wonderful is that statement!) has the countdown on their sign — 10 weeks until spring!Bonfire in January
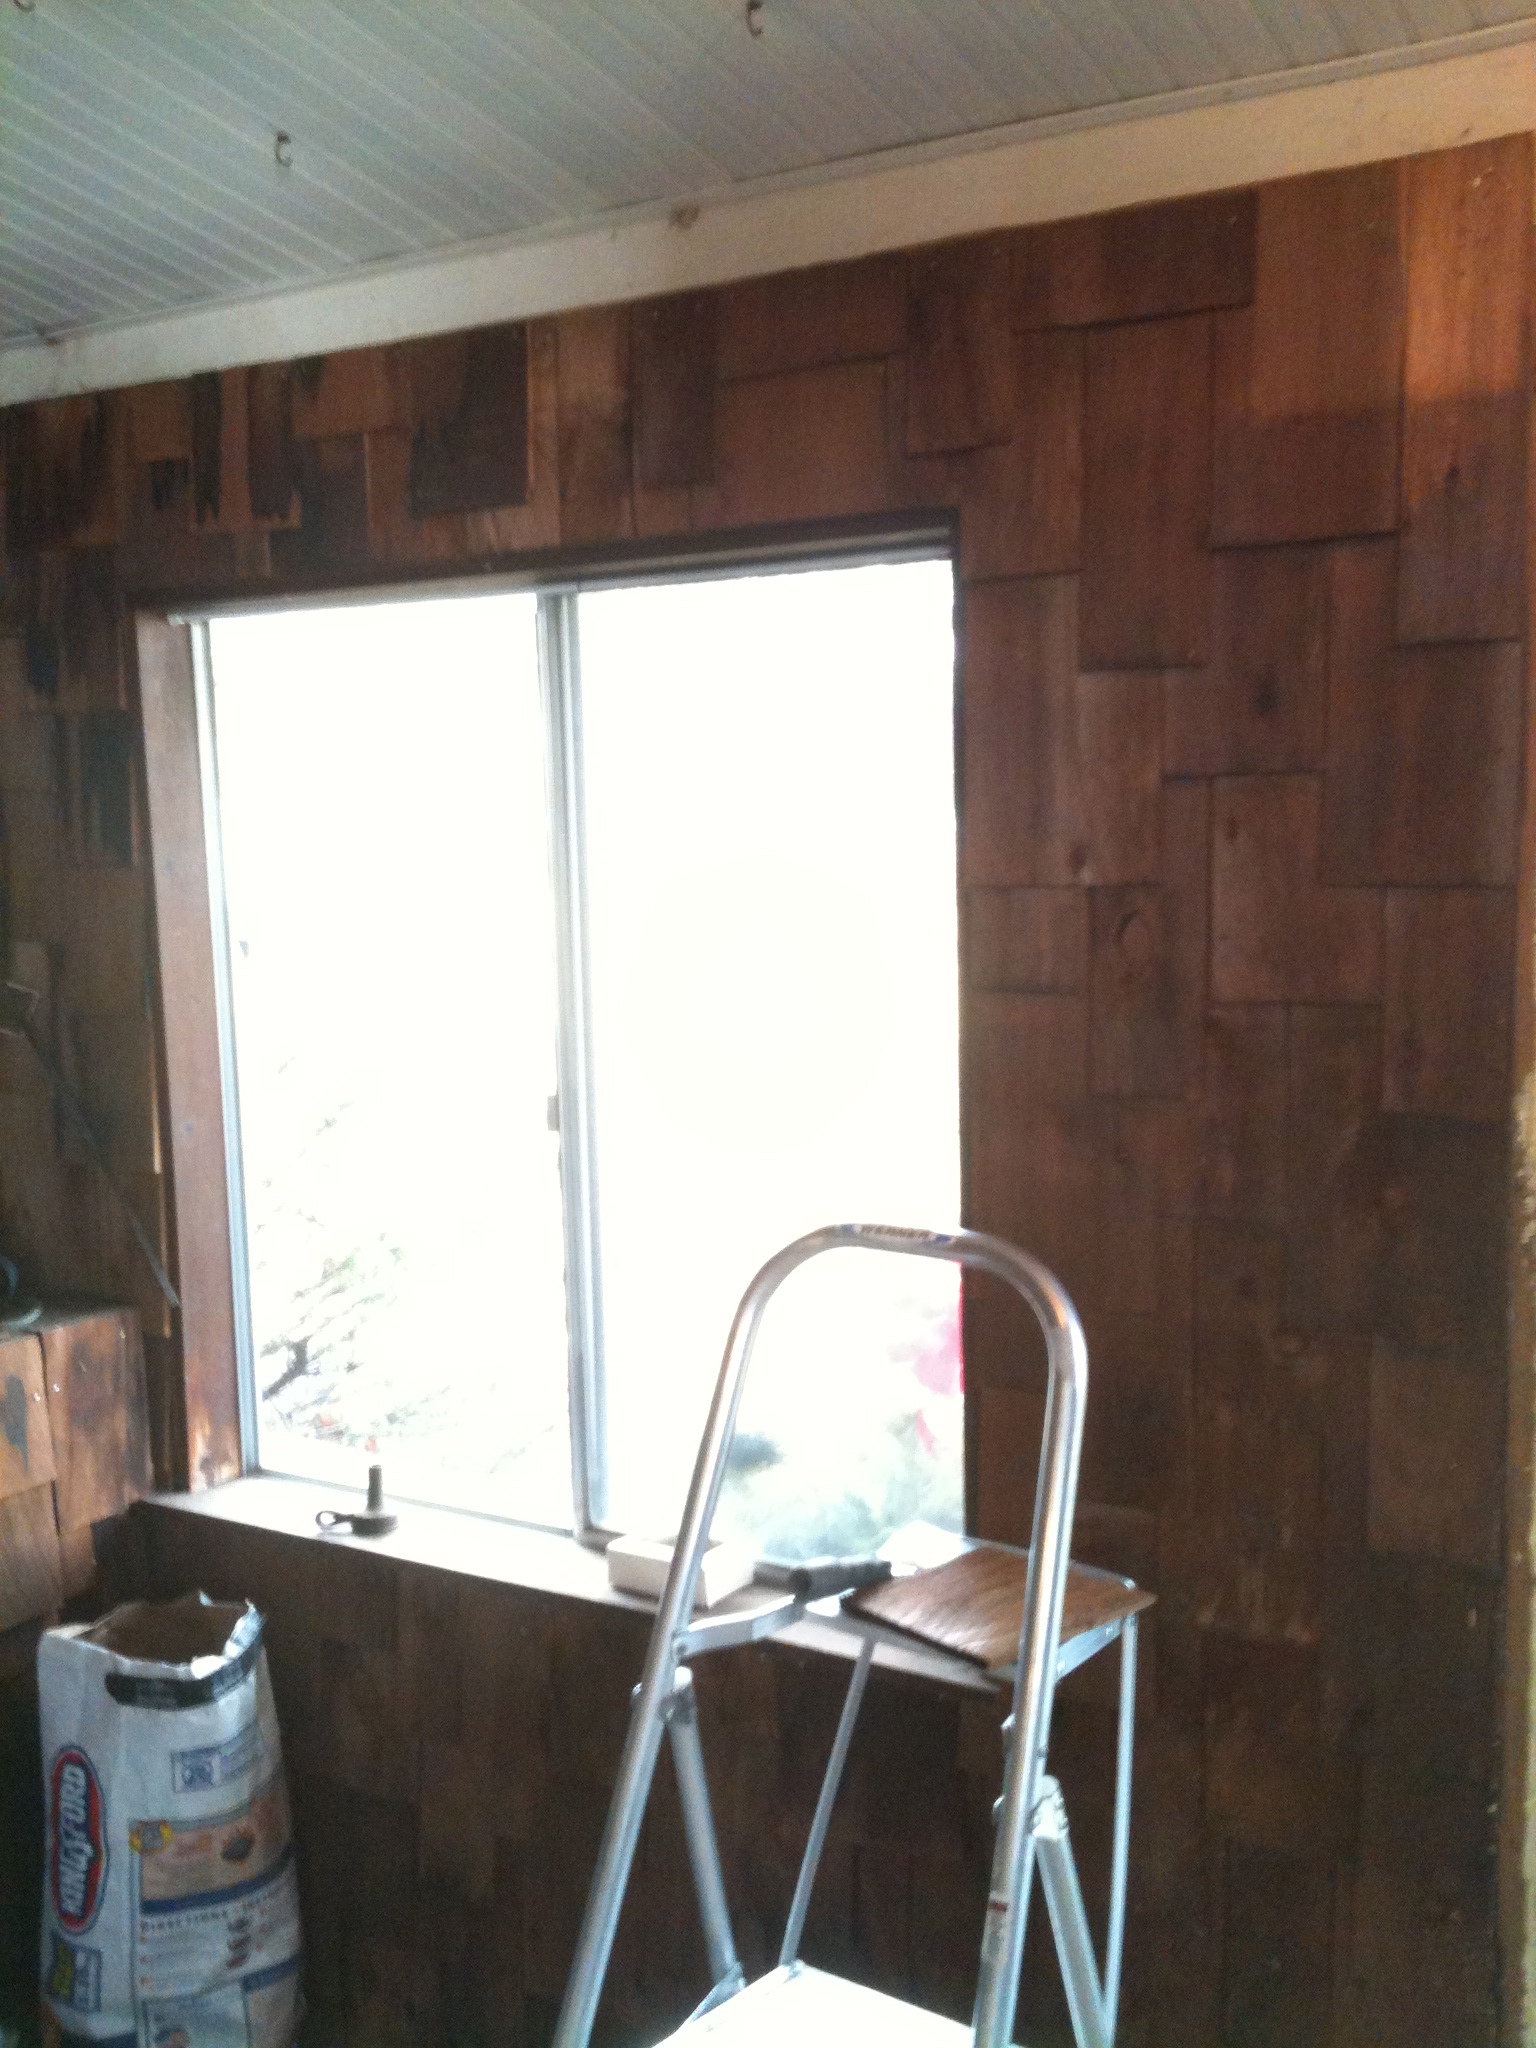
Mr. H.C. was rebuilding the last window down in his workshop (and kind of grouchy about it) so I was on my own. But he actually gave me permission to start destroying the mudroom. Demo, as it is known in the trades, is a blast, and usually he gets to do it; but with the door open, and my crowbar in hand, I started taking off the cedar shakes that are were the “walls” of the mudroom. (Probably he was grouchy because he wasn’t wielding the crowbar!)

One of the mudroom walls covered in cedar shakes

One of the mudroom walls covered in cedar shakes

I know you are going to ask why we would begin messing up ANOTHER room in the cottage before we are even half-finished with the kitchen… Well, you see, the mudroom is attached to the kitchen. In fact, it is the Entryway to the kitchen. And the doors that we are going to put between the two rooms have to go in NEXT. So the doorway/wall between the rooms had to be taken down, so we can rebuild it to fit our new beautiful French doors that we got for $70 last fall. (You can see them  here in post 16. The Color of Apples .) They aren’t quite the same size as the old sliding glass doors, so building the frame for these doors is the next project.

Let me tell you — taking down and rebuilding is a S-L-O-W process! It took me all day and I didn’t quite get all the shakes off. I was trying to be careful because we might want to reuse them for something. Don’t you think a chicken coop sided in natural cedar shakes would be poulet heaven?

I found this rustic chicken coop sided in cedar shakes at www.theartofdoingstuff.com. I fell in love with it and even pinned it to one of my pinterest boards.

I found this rustic chicken coop sided in cedar shakes at www.theartofdoingstuff.com/chicken-coop-inspiration/
I fell in love with it and even pinned it to one of my pinterest boards.

20130112-232710.jpg
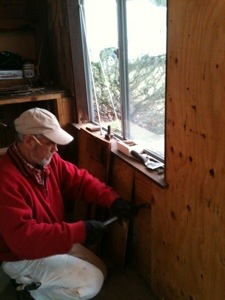
After Mr. H.C. primed the last window, he came up to help. His mood visibly improved once I shared my crowbars. I understand. Windows have gotten me in a funk before as well. (See post 29. Being Thankful for Failure Takes a Better Man than I.)

The downside of the warm weather and demo-ing a mudroom were ladybugs and stink bugs. They were everywhere. Behind the cedar, under the cedar, in groups, single, falling from the ceiling, crawling on the floor… We thought it was just because we were taking off old cedar that had been there for thirty years, but it turns out this warm weekend brought out the stinkbugs in Everyone’s houses, not just ours. We ended the satisfying weekend with only two splinters, several boxes of acceptable-to-reuse cedar shakes, and almost-bare mudroom walls.
IMG_1111

Yep, the walls ain’t pretty!

On to Door #2!