The look of oil-rubbed bronze finish on metal is sleek and rustic at the same time; it isn’t black, it isn’t brown. It’s comfortable. All the hardware in the cottage kitchen is a variation of it except the Expensive Kitchen Faucet. (You can read about that here.) We bought the faucet in brushed stainless, mostly because the counter top and sink are going to be soapstone, and we didn’t think a dark faucet would look good on dark soapstone. My decorator sister agreed. She thinks the oil-rubbed bronze finish will date your house in a few years — “Oh, that is SO oughties…” Well, I might give her that — I just hope I’m not around long enough to know. And I’m still thinking of oil-rubbed bronze fixtures in the bathroom…
 But last week Mr. H. C. brought home this wonderful handle for the kitchen door that goes down to the basement. (This is the door that will soon be Blooming Grove Green.) The handle was bright brass with a matching pull plate; a lovely simple design, but absolutely wrong color.
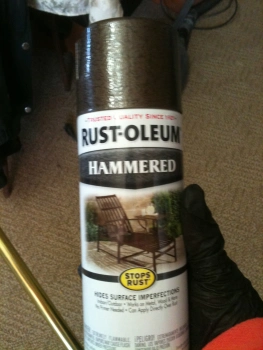 Now, I have spray painted oil-rubbed bronze finish on metal with the best of DIY-ers. I’ve done our cabinet hinges and screws, and I’ve done the light fixtures in the kitchen, and a curtain rod, switchplates, towel holders, door hinges… But a door handle? That will be used every day? Mr. H. C. said, “So have you ever looked up how to get a real ORB finish? You know, Authentic?”
Apart from electrolyzing or electroplating metal, which I don’t think I am ready for, the best idea I found was from House of Antique Hardware. They sell a brass and bronze aging solution that takes unlaquered brass and gives it a dark old-looking finish much like the oil-rubbed bronze. We ordered a big bottle for around $25. I think we could have gotten away with a small bottle, but I don’t ever want to run out of this stuff!
Instructions specifically say that it only works on unlacquered metal, and I was pretty sure that this door handle was lacquered. It was really shiny. And smooth. So I soaked both the handle and the pull plate in lacquer thinner for about 15 minutes each; then I rubbed them carefully with the finest grade steel wool I could find.
I put on my safety glasses and my gloves – this is a nasty chemical mixture of acids, folks – and found a large plastic container. The instructions say that glass is also acceptable, but don’t use metal – you don’t want the acids to react in the wrong way with your container. Pour enough of the chemical solution in the container to cover the hardware. I did the handle first.

Everything is pictured here except the safety glasses and the chopstick that I used to push the pieces around in the solution. I had my safety glasses on when I took the photo. AWYSG!
With gloves on, wipe the handle carefully with a clean lint-free cloth. Fingerprints can keep the chemicals from doing their thing on the brass. Then put the handle in the solution and be amazed. It starts to darken almost immediately. You also need a tool of some sort to fish the hardware out of the chemical solution. (I used a chopstick.)

I jiggled the handle around a bit so it would darken evenly on all sides; the larger pull plate I actually turned over several times. Leave the piece in the solution until it is a little darker than you want; it lightens with the next step.

No spray paint here!
Take out your hardware and rinse in cold water. I just used the sink, but you could certainly put a container of cold water next to you and just dunk the hardware into it. The point is to stop the chemical reaction. The water lightens it a bit. When I had done both pieces, then I got out some mineral oil and rubbed it in. That evened up the color and made both pieces a bit darker again.
You can see the shine of the mineral oil in this photo. Now you must control yourself from rushing around trying to find everything you own that is brass or bronze and throwing it in the solution. Pour the solution back in the bottle; it can be reused. I’m certain I will get much use from this bottle; however, this solution does not work on all metals. The little decorative washers that you see in the second photo came out splotchy; I don’t know if they weren’t solid brass, if I didn’t clean them enough, or why. Anyway, I spray painted them, and they look just fine.
This elegant $15 DIY oil-rubbed bronze door handle makes me smile.
*I am amending this post a few weeks later. I tried another brass push plate very similar to the one in the photo, but purchased at a different time and place. I soaked it in lacquer thinner as well. But when I put it in the solution, it was very streaky. Not acceptable. So I rinsed it off, got out the steel wool and went to work. Under a good light, I could tell that the lacquer thinner just had not gotten all the lacquer off. I put in a good 15 minutes of elbow grease and steel wool. The second time I tried it, it came out lovely — just as good as the other one. So don’t be afraid to try it again, if it doesn’t work the first time.
And here it is finished on the painted door:

This is how lovely it still looks three years later — this door handle gets touched multiple times every day.
 We were sitting around a conference table at church a few years ago – about 18 of us – trying to figure out when we could have our next meeting. It’s hard to find a time, an evening, when 18 busy adults can all get together. Someone suggested February 14.
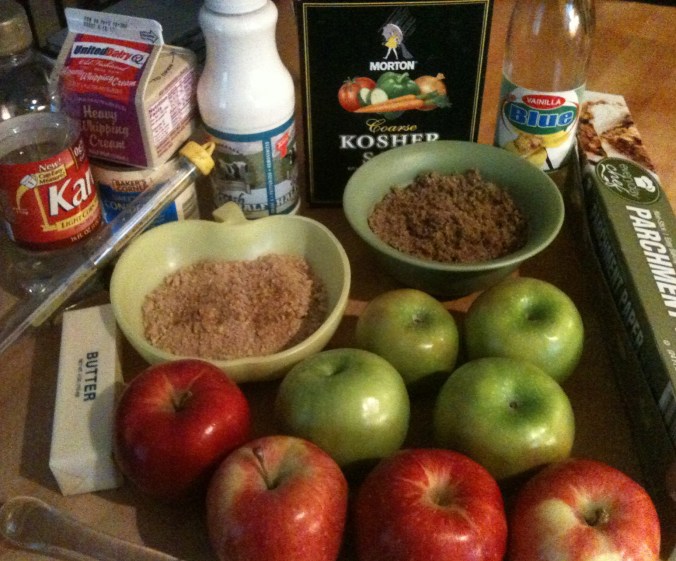
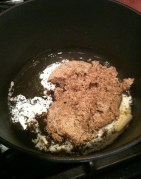 Melt the butter and add the sugar, corn syrup, all the milks and creams, and the salt. Adjust your burner to medium and don’t touch it during the whole process. Really. DON’T touch it. Patience! Stir gently until the mixture starts to boil.
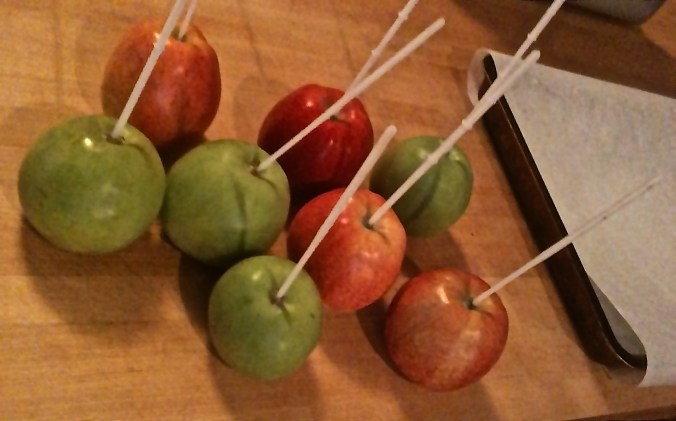
 The hardest part is getting the whole apple coated – especially the top. You can tip the pan; you can use a spoon; but even so, I could only get 7 apples coated. I probably had enough left for the eighth but just couldn’t get it around the apple. So I did what any normal person would do – I poured out the last of the caramel, sliced up the apple, and ate it as is. Refrigerate the apples for two hours before you do anything else with them.
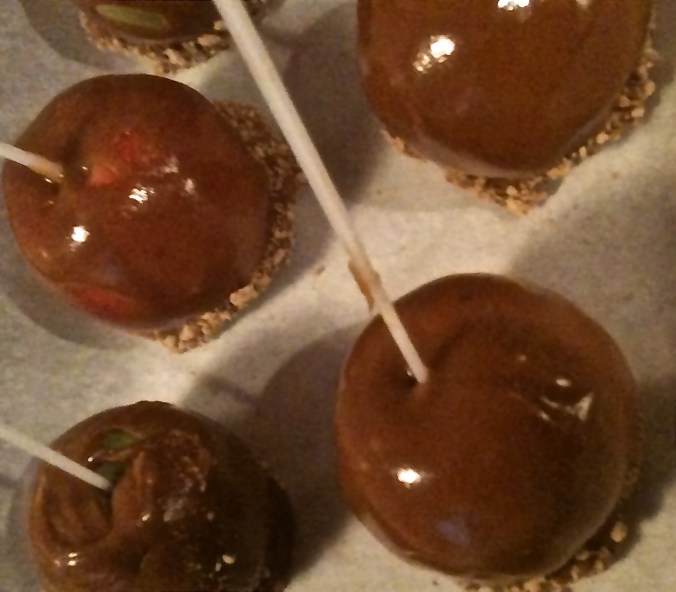
 The texture of this caramel is great. When I poured out the last bit, it hardened up without even being put in the fridge. It would be great to pour into a pan, let it harden, and then maybe melt some chocolate over it? I’ve got leftover ingredients calling out to me. The only thing better than caramel with apples is caramel with chocolate.