Why?
Because it is finally finished. And I have to say this final bit was all Mr. H.C. The only share I had in this last wall was painting one coat of paint on the door.
There won’t be too many words about this, because words cannot describe how completely and utterly finished it looks.
Unfortunately photos can’t do it justice either. Because it is all painted in Sherwin Williams’ lovely creamy white color — Steamed Milk. The same color as the kitchen walls. The same color as the dining room walls. The same color as the living room walls. The same color as the ceiling in all those rooms as well. Yes, we like creamy white walls. And ceilings.
In my humble non-decorator-just-average-person opinion, creamy white walls make a humble cottage look bigger, lighter and brighter, and just all-around more cheerful. And anyone who saw the cottage before, with its orange walls and wallpaper and 70s dark paneling would agree.
So without further ado, here are some befores, durings, and afters of our finally-finished-after-five-years mudroom entry to Apple Hill Cottage. (Trumpet sounds here…)
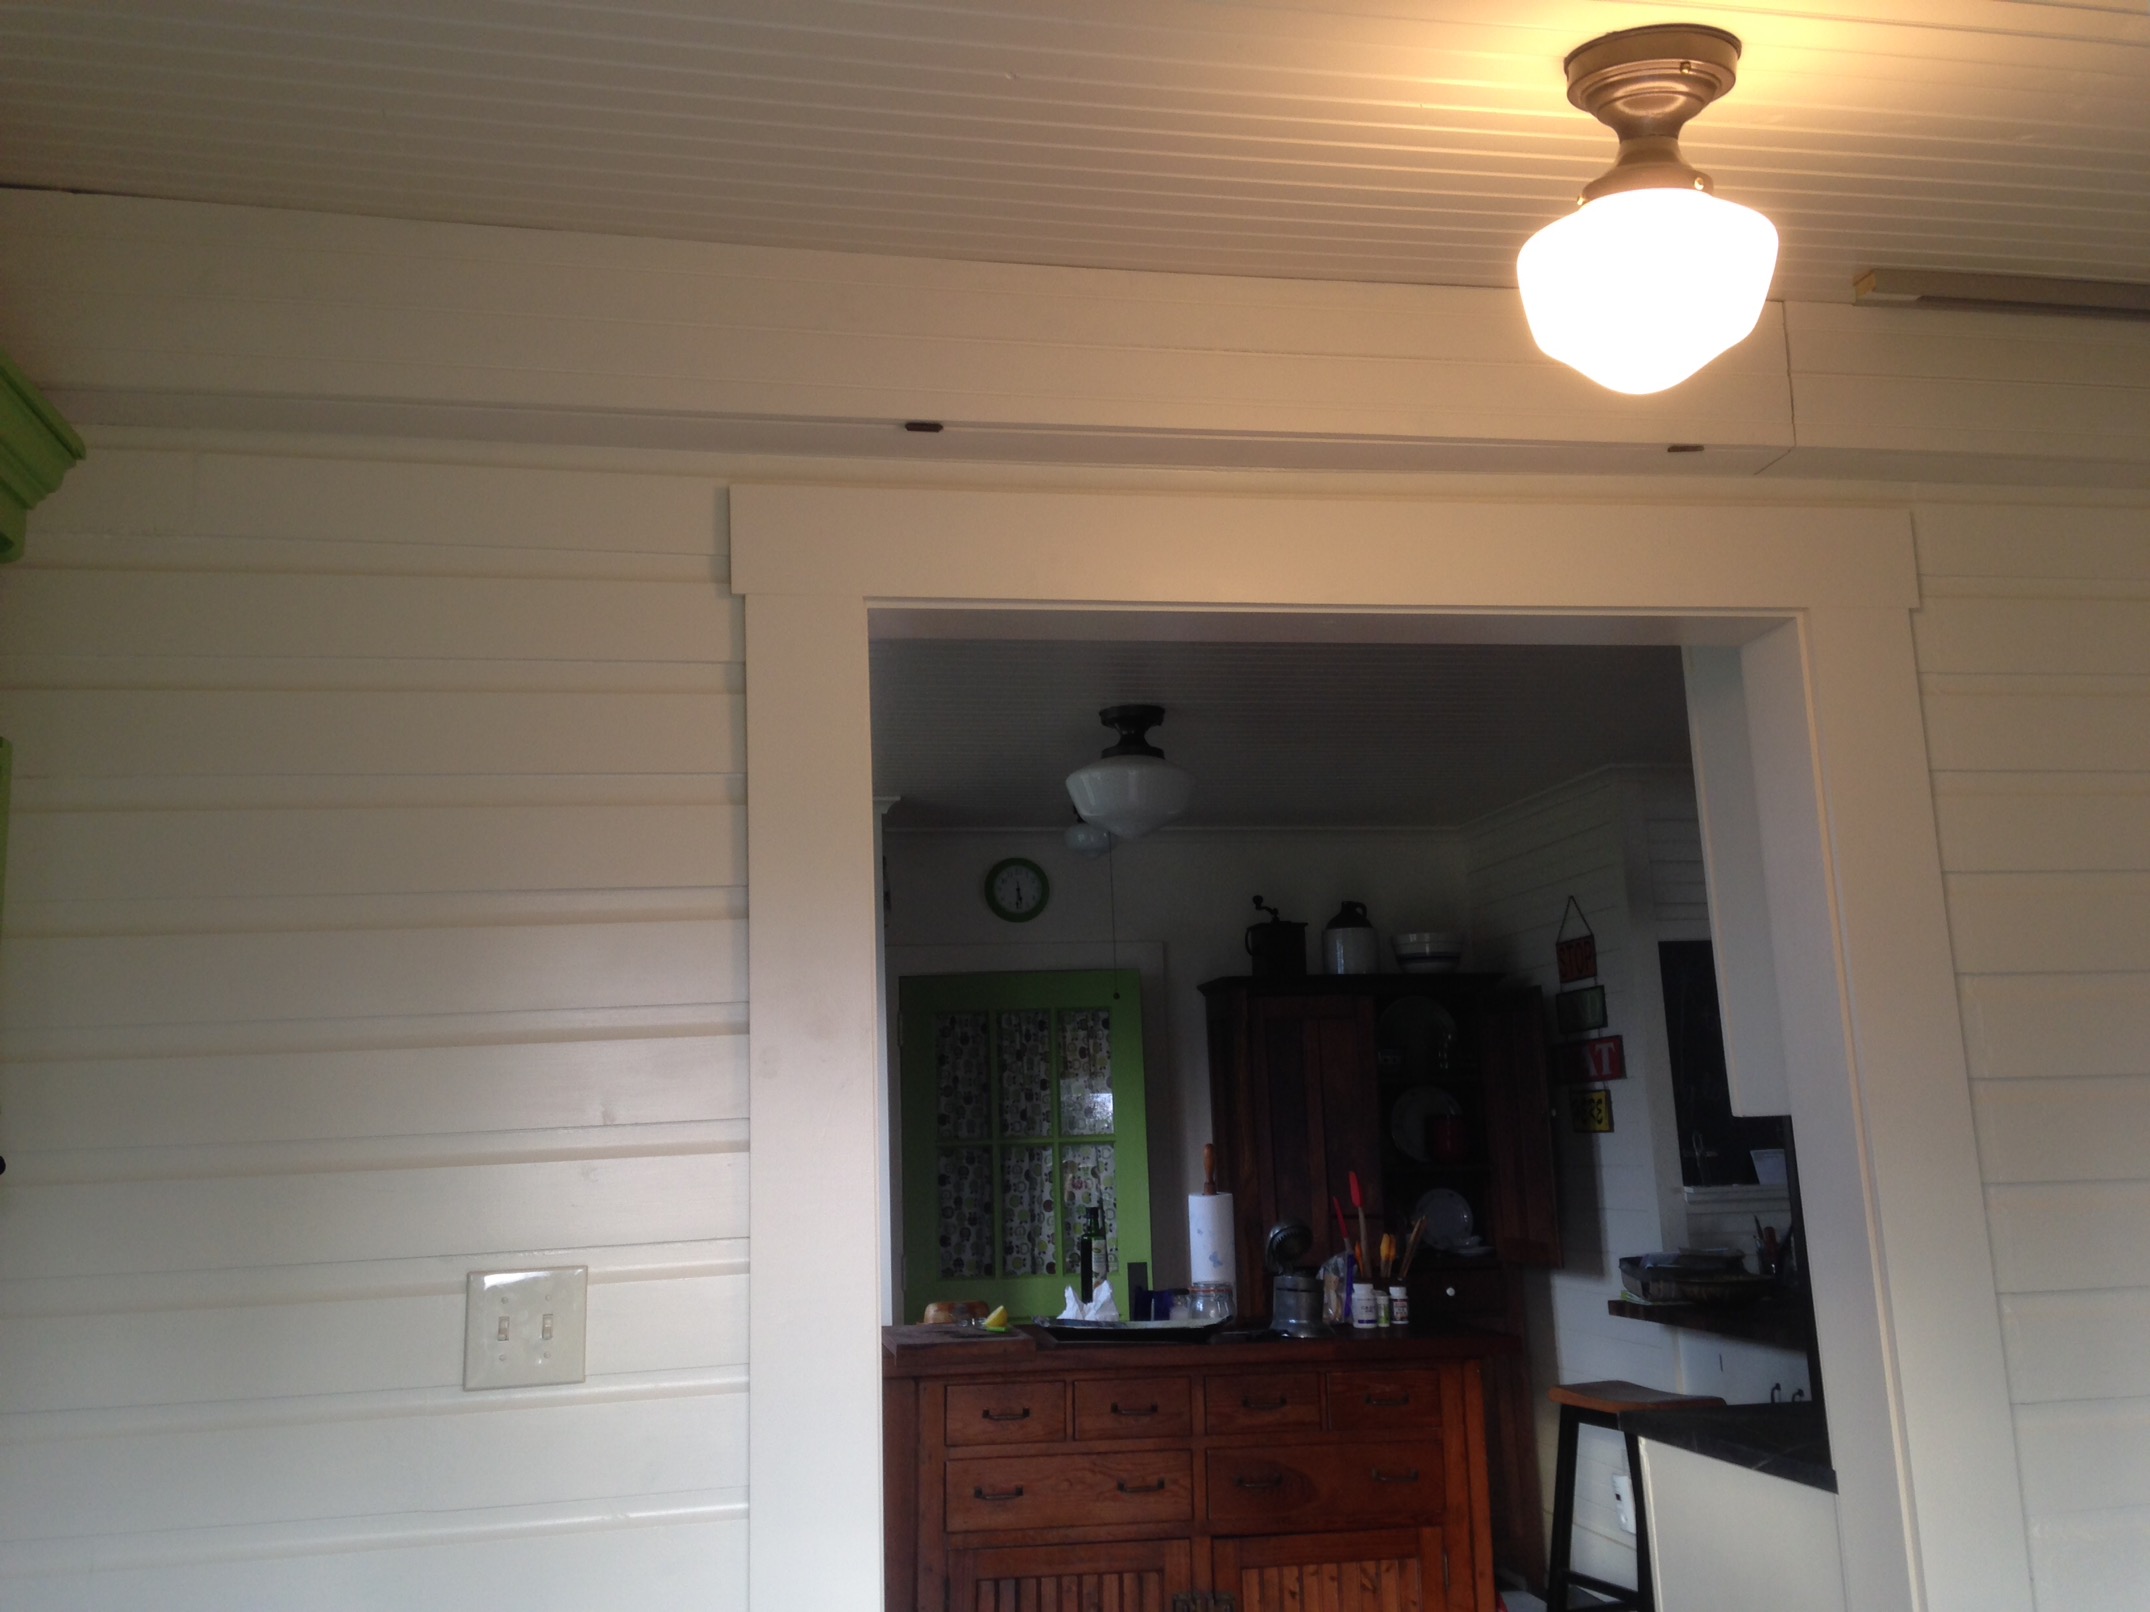
One can see that it is so new, there isn’t even any art on the walls.
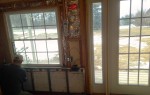
This gallery below shows the progression of the outside wall of the mudroom — from the initial window, cedar shake walls, and plastic ceiling — to what it looks like now:


The next gallery of photos shows the progression of the second wall:


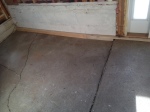
The floor has been done for a couple of years, but it still merits a before and after photo shoot:


The finishing of this room took so long because an exterior roof was necessary before the interior ceiling could be installed. Since the roof was finished this past summer, this winter we were able to proceed with the ceiling:


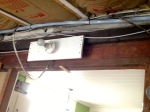
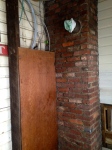
The last wall to be finished (February/March, 2017) was the wall with the most issues. There is an electric panel two feet from the wood stove; there were wires traveling the whole length of the wall that hooked into the electric panel; and this wall was also the orginal entry into the kitchen before the mudroom was enclosed and was just a porch. When we took off the cedar shakes, the wall was down to its original siding and it wasn’t pretty:


These photos below show the electric panel side of the doorway:


The sliding door that covers the electric panel is made from concrete board and trimmed with wood grain concrete board so it mimics the other interior doors in the cottage, but it is safe for being next to the wood stove. It hangs from the ceiling with pocket door hardware.


One of the best things about having the mudroom finished is that now the doorway into the kitchen is finished as well. In the last post on the mudroom, I showed you the photo on the left. Now the far right is the finished picture.


Five rooms down, two to go. Three if you count the back porch; four if you count the laundry room.
But who’s counting?


 This summer we put on the new roof. But still nothing could be done about the ceiling because. Money. Time. Or lack thereof. You know, LIFE.


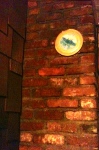
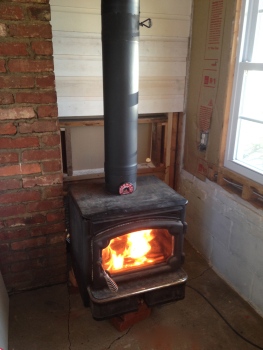 Mr. H.C. was just itching to get the wood stove hooked up into that chimney, but the contractor guy in him couldn’t bear to pay someone else big bucks for something he thought he could do. So we ordered chimney liners online from
 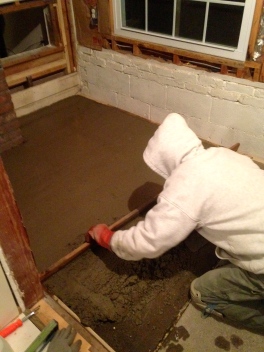 We had planned to put down concrete over concrete to level the floor and then some concrete board over the concrete to keep any cracks from showing up in a couple of years. But the cement board idea didn’t work, so we just laid a new layer of concrete. The laying/grouting/sealing of the tile did not go smoothly; I won’t go into details, but it certainly looks beautiful to us. (Did I mention we chose to do this project during the coldest week of the winter?)
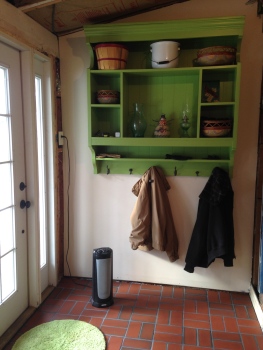 One wall is finished with an old pine hutch top that has been repainted and repurposed into a mudroom staple — shelves and hooks for jackets. I painted it Blooming Grove green to bring the kitchen color out into the adjoining mudroom. The walls behind the wood stove are now covered in metal studs and Hardiebacker board (fire-resistant for the walls next to the wood stove) and some sort of tile will go over it. Soapstone is the material of choice, but $$$ matter. We’ve gone shopping at the big box stores and found nothing of interest, and we’ve had a long dry spell at our favorite Restores.

