100. The Not-final Kitchen post

See that 100 up there before the title? I’ve spent the last few weeks wondering what I was going to write about for my 100th post. Big time writer’s block? Afraid of a number? My WordPress statistics tell me I’ve already written 100 posts, it’s just that two of them weren’t numbered. I started the numbering system after the first few posts, because originally? This blog was for me. For us. So we could keep track of what we’d done on the cottage. I wanted an orderly progression of ugly, uglier, better, beautiful. (And heaven knows, something needed to be orderly in my life.)

For a long time, I thought my 100th post would be the Final recap of the kitchen. The Biggie. 100. The Complete Cottage Kitchen Renovation for Less than $10,000.

We did stay under budget, but there are still a few things left to do, and I can’t write a final recap post when the kitchen isn’t final yet.

But I can do everyone’s favorite — Befores and Afters! (Is there anyone who doesn’t like before and after shots???)

70s kitchen

Before.
You can see the sample flooring, but that was the expensive stuff — we bought simple Armstrong VCT.

New old door $35 from Habitat for Humanity. Hardware $45 from Construction Junction.

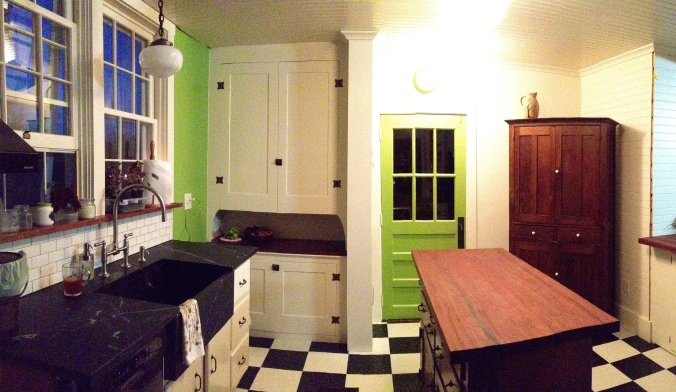
New old door painted Blooming Grove (Ben Moore) from Habitat for Humanity. The lovely creamy white color is Sherwin Williams Steamed Milk

IMG_2896

Before…

And the same space now…

You can see that the subway tile doesn’t yet go around the corner. And there will be appliance shelves above the tile. Oh and real electric outlets…

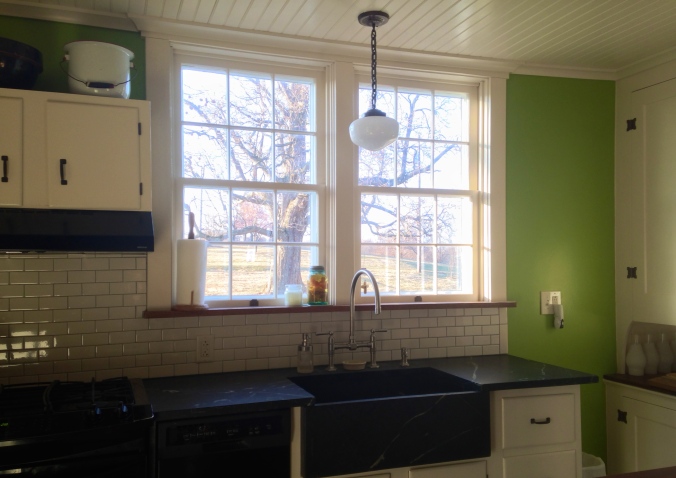
This is a close-up of the soapstone countertops and sink. You can read about our soapstone love affair and adventures here.

Even after some nicks and dents and scratches, we still love the soapstone.

This...

This…

…to this!

…to this!

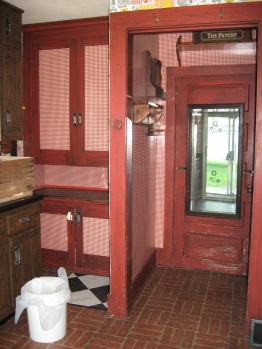
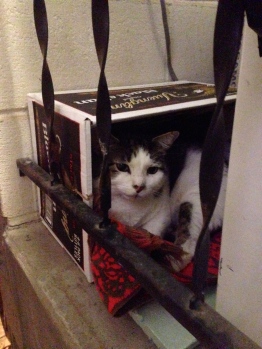
This corner below made it into the recent post about the orange phone. (You can read that one here.)

IMG_1695

corner with fridge

We don’t have any before photos of the little pantry that we demolished — it was just to the right of this door below:

But we do have a lovely shot of the hole that we found when we took out the wall. These next two pics are of the same space — about 16 months apart… I made the first picture small on purpose — no one wants to see how awful it really was.

hole in the wall

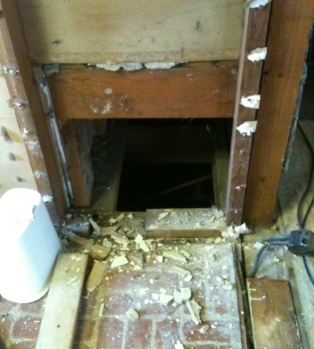
Discovering this was one of the low points…

The chalkboard was my Christmas present...

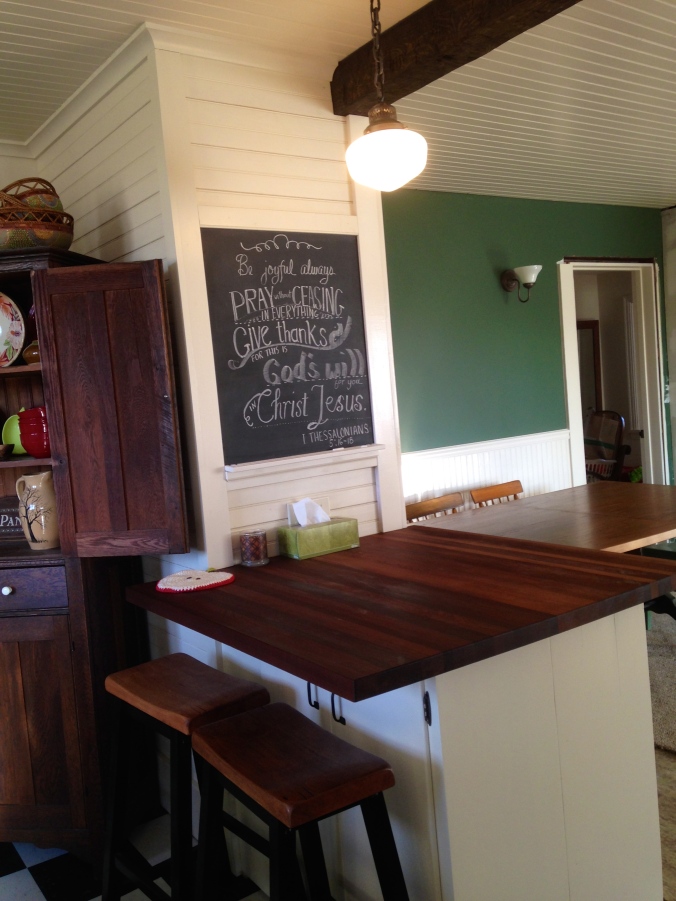
The chalkboard was my Christmas present…And the peninsula covers that hole nicely. The butcher block wood is Sapele from Hardwood Lumber Company in Ohio. You can read about it here and here.

From this above photo you can look in and see the almost finished dining room. You can see that the trim isn’t finished around the door, the crown still needs to be put up (we just finished the ceiling this past weekend!), and the mirror between the sconces still is leaning against the fifth wall… But yes, life is good.

Dining Room before

View of Dining room into kitchen

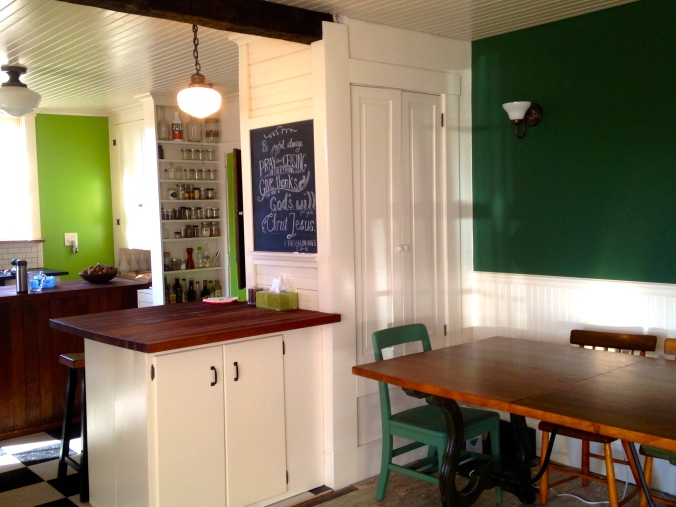
and what it looks like now.

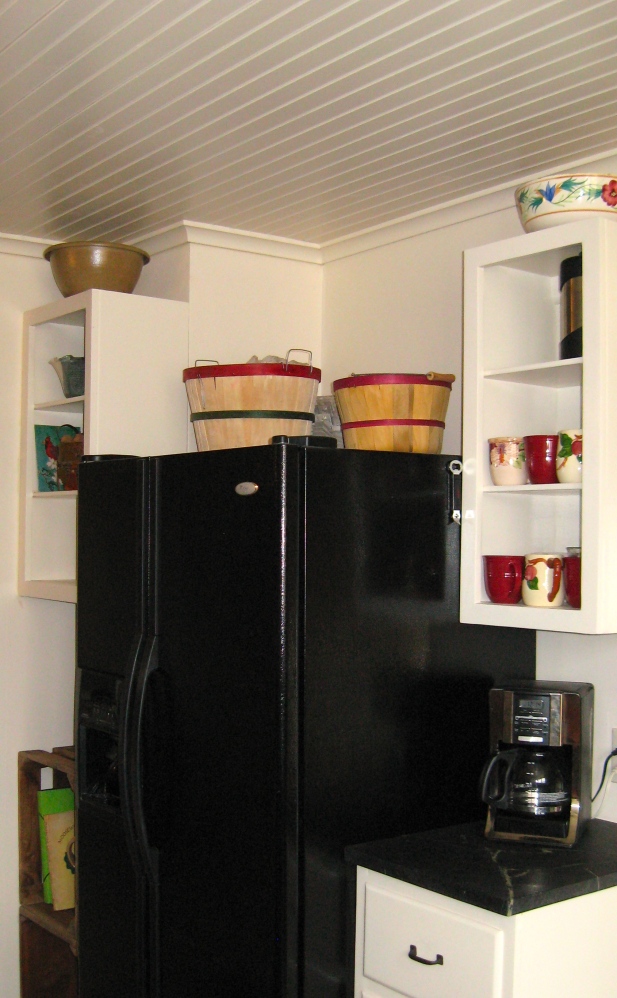
Just a few Post Scripts: Some of the walls you see aren’t there any longer — we took out some half-walls here and there. The only things kept from the original kitchen were the windows, the light with a pull chain above the green door, the fridge, and the built-in cupboard. Oh, and the pantry sign. We’ve still got art to hang, and finishing touches to do, and now that I see the bushel baskets on the fridge, I think they have to go… But it is Apple Hill Cottage after all, so they’ve got to find a place somewhere…

94. Oven Ordeal

Somewhere about last April, I boldly pronounced that the next big project would be to move the kitchen stoves around. Yes, well…
It is January. I’m aware of that. One thing I’ve discovered while writing this blog: even though I write about what is going to happen, that doesn’t mean I have control.(In more ways than one…) I always have big plans in my head! Sometimes Mr. H.C. refuses to listen to those plans; sometimes bigger events happen that always serve to remind me who Is in control.

I’m certain that I whined a lot about the stoves. I had many good reasons to whine:

Under construction

Under construction…

  • The Apple Hill stove was still in the living room, while all other utensils, food, pans, etc. were in the bright, pretty new kitchen.
  • The stove in the cottage was Clara’s ELECTRIC stove, and I know that people will disagree with me about this, but I HATE ELECTRIC stoves because they always burn everything.

We also had to relocate Henry the cat’s food and water; nothing like having to search for your dinner bowl…

  • There was a large hole in the kitchen where the stove was to go, and it ruined all my photos of the kitchen.
  • My wonderful gas convection oven, which has never burned anything in its life, was sitting up in the city house cold, unused, and alone.

Switching stoves was definitely an ordeal, but we managed to get them both moved last weekend without dropping either stove on anyone’s foot, without either stove sliding off the dolly, and without anyone hurting his back. And we are filled with relief that we don’t have to switch refrigerators!

Safely inside, still strapped to the dolly.

Safely inside, still strapped to the dolly. If you look closely, you can tell that it’s not gonna fit…

The thing about this beautiful black range is that it just isn’t regular. It borders on being a built-in, and even though it has the same dimensions as most stoves, there are just a lot of quirks. It was 5/8 of an inch off, and something had to give. It was either cut the soapstone countertop or cut the cabinet or cut the wall. The wall won — the cabinet is now recessed 5/8 of an inch into the wall.

The dry wall was cut out, and the stud at the corner was notched to enable the cabinet to slide back 5/8 of an inch.

The dry wall was cut out, and the stud at the corner was notched to enable the cabinet to slide back 5/8 of an inch.

Once that side was done we pushed the stove in place, but it wouldn’t go far enough to the back wall. Turns out, the gas hookup had to be lowered. Twice. The floor even had to be cut out around the pipe to get it low enough for the back of the stove.

See the flooring cut out?

See the flooring cut out?

I’m blessed to have an even-tempered, patient husband who did not once throw a tool or utter any curses (at least out loud). All told, it took nine and a half hours — we unloaded the stove from the truck at 10 AM and Mr. H.C. turned on the gas around 7:30 PM. (Yes, the pizza delivery guy knows where we live.)

Henry in a prison of his own choosing...

Henry in a prison of his own choosing…

Henry the cat, however, was not even-tempered. The noise of various saws and drills and air compressors drove him to the basement where he sulked all day, hidden behind some boards. This was so unlike our usual placid kitty, we actually thought he had suffered a kitty stroke. It’s not as if he’s never heard power tools before… Mr. H.C. finally took down a box and a blankie and set it near the heater vent. He curled in, and we shut the door to keep out the noise.

It's a good thing he's skinny. I had to slide over a ladder and he stepped out on to the ladder rungs to get out.

It’s a good thing he’s skinny. I had to slide over a ladder and he stepped out on to the ladder rungs to get out.

To busy myself while all this was going on, I cleaned the stove! And I have another gorgeous tip for all you people out there who love organic cleaners. I love to clean with vinegar and baking soda, but I don’t love the smell. (Drum roll, please…)

Orange Vinegar!

Orange Vinegar!

Put your orange peels in plain old white vinegar and let it sit on your counter for a few days. It smells so wonderful, you can hardly tell it’s vinegar! Well, okay, not quite. But it sure beats the smell of the plain stuff. It smelled so good, I’m going to use some of the next batch for cole slaw dressing. And I’m also going to try it in Olive Oil. Have any of you ever been to a Vom Fass store? Delicious Vinegars and oils in pretty little bottles and very pricey! Yep, I’m makin’ my own Extra Fancy Orange Vinegar!

IMG_3639Back to cleaning the stove — the baking soda and orange vinegar did a perfectly serviceable job of cleaning the top. I had actually cleaned the oven about a month ago in anticipation of moving it, so all I did with the oven was give it a wipe down; but the baking soda and orange vinegar fizzed off the caked-on brown stuff on the glass of the oven door, too. It is so clean, it reflects the floor!

It didn't take long for it to collect pans, teapots, and a utensil jar...

It didn’t take long for it to collect pans, teapots, a utensil jar, and a pretty new towel…

And here’s another shot from a different angle:

Yes, I cleaned the counters just for this picture.

Yes, I cleaned and oiled the countertops just for this picture.

Our first meal was baked salmon. And next week I’m baking this Coconut Lemon cake from Foodie with Family for someone’s birthday…I think he deserves it!

71. Baseboard, Crown, and Cupboard

I’ve been struggling to write two posts — very different posts — one on stuff and one on our new bedroom that’s almost, but not quite finished. I’d like to show it to you, but there’s just one more finishing touch needed…

And so I’ve given up on those longer, deeper posts for now; instead I will just show you what’s new in the kitchen.
BaseboardCrown moulding
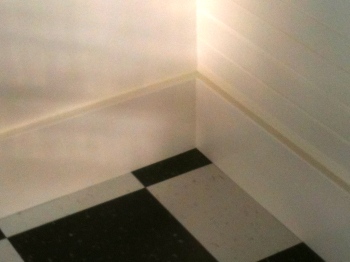
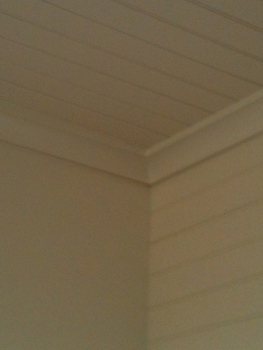
We’ve got some baseboard in finally — no more ugly gray plaster lines! And notice the crown moulding. I only have one thing to say about that. If your husband is doing it, keep out of his way and keep your mouth shut. Okay, that’s two things, I know…

A panorama shot taken with Mr. H.C.'s IPhone camera...

A panorama shot taken with Mr. H.C.’s IPhone camera…

We’ve also brought in the cupboard that was always going to go in that spot; we just weren’t sure exactly how it would look best. So what else would you do on a Sunday evening except move the cupboard around in different spots? We have our favorites, of course; and Mr. H.C. only mildly complained that I was making him move this very heavy cupboard, when it was obvious to him which way it should go…


What do you think?