True confession time: in the forty plus years since I have been furnishing my own dwellings I have only purchased two new lamps.
(My sister, the decorator, would say, “Yes, I can tell.”) 😄
But I get much joy from making something shabby look good again. And you can too, here at Lamp Repair 101.
Step One: Painting/Cleaning the Lamp


This lamp was purchased today at Construction Junction for $10. I needed a taller lamp to go with the washstand I just redid. (See post 78 for a before photo of the washstand.) I was looking for a basic lamp to paint. The top and bottom part of this lamp will be spray painted with my favorite Oil Rubbed Bronze shade of Rustoleum; the middle will be painted with the left-over chalk paint from the washstand, a pretty shade of blue green, Calico, from Sherwin Williams.
Usually I test old lamps but there were no light bulbs at the check out counter and the folks who work there are pretty much “Eh, you want it, you buy it. Ya don’t want it, somebody else will buy it…”
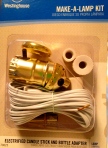 I dusted it, cleaned it with vinegar and tested the lamp. The switch was a turn knob, which didn’t click cleanly in place and the light from the bulb flickered. It would need to be replaced with new lamp parts from our favorite Big Box Store.
Tip # 1. If your significant other tries to direct you, ignore all their instructions and do it your way. Then if it fails, you can blame only yourself. Conversely, if it fails after you’ve done it THEIR way, you will be muttering about how you should have done it the way you wanted to in the first place…This is true in all of life.

I was going to just mask the middle and spray paint. Instead Mr. H.C. suggested I take it apart. He usually knows best, so I did. (See Tip # 1.) In retrospect, he was right (he usually is) because the socket was going to have to be replaced anyway. I should have just taken the whole thing completely apart, instead of keeping it linked together.
Tip # 2. When you take apart a lamp, especially if you are doing this for the first time, Remember how it goes back together. Put all your parts together in a big tin can, or place them somewhere in order to help you remember what washer goes on what nut. (If I can do this, you can too; I scored 0 (Zero) on the mechanical ability tests we had to take in high school…)

Note the blobby spray paint
Tip # 3. Don’t do your spray painting on a day that has 99% humidity and temperatures in the eighties. It takes forever to dry and then easily scrapes off.
All the DIY blog posts I’ve ever read make it all sound easy and never write a word about messing up. You will get the truth in this post. I have never had any metal not take to my favorite Rustoleum oil rubbed bronze spray paint. Last week I even spray painted a shiny metal lamp shade. It worked great. The shiny fake brass top and bottom of this lamp did not take the paint. I lightly sanded them, put a light base coat on first, and then watched as the second finish coat just scraped right off. It was disheartening. (See Tip # 3.) And time consuming.
Tip # 4. Do not use a cheap brush for chalk paint.
I already had the chalk paint for the middle of the lamp, but you can find the recipe here. The best tool I had for painting a curved lamp was a small foam brush. The cheap brush that I started with left bristles everywhere and had me bristling. (Sorry, couldn’t resist — see Tip # 4.)


After I had sanded and scraped off the goopy-never-did-dry coat of spray paint, I started again. This time I took the pieces outside where there was a slight breeze, and spray painted again. I didn’t touch them for four hours, and this time they dried fine. Who knows? I’m blaming the humidity and the bad working conditions of the garage…
Putting the lamp back together was the most fun of the project. In Part Two of this post we will cover rewiring; if you aren’t into learning how to rewire, then just skip it and look at the final photos of my beautiful new old lamp.


Or maybe you like this lampshade better?


Tell me which you prefer, and in the next post I’ll show you the one I kept.
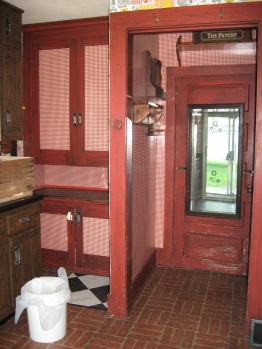
Note about the washstand: This may or may not be the way it stays. I needed it to look good in a hurry, which meant only sanding the straight parts. The pieces in between the drawers are curved; there are insets on the sides that need much sanding work, so I took the quick route and painted what wasn’t easily sanded. It fit the bill for fast, but I’m not sure if I like it; at least it will do until I decide…Plus, it’s a compromise between “Don’t ever paint oak/husband” and “But the color goes better with the room/Wife.” What do you think? Hmm. Might depend on your gender?


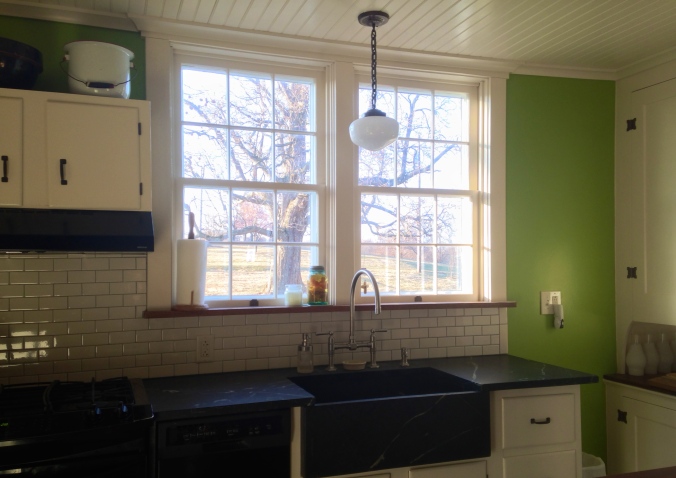


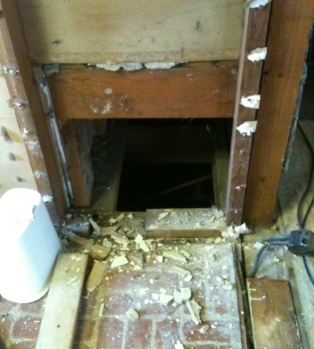

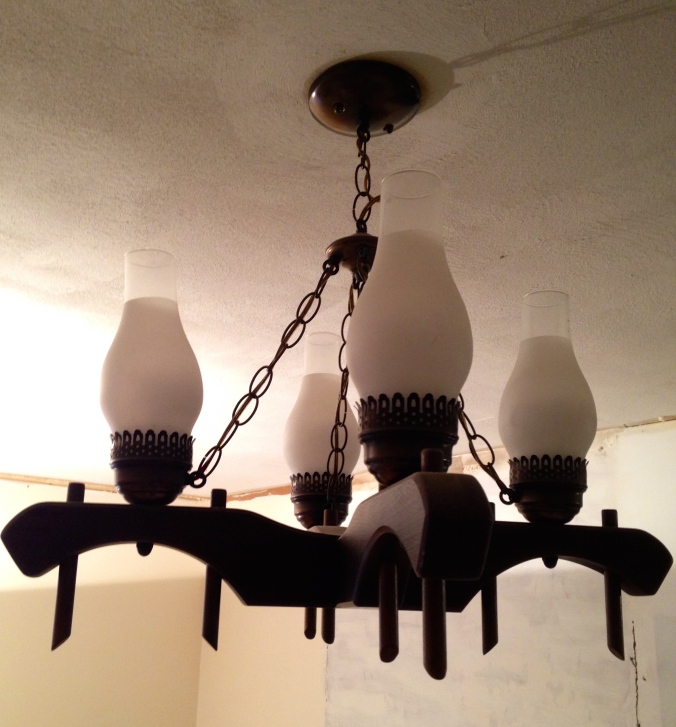


 That lamp is a beast, but I gotta say it’s as sturdy as an ox. It has been hit by boards, sheets of dry wall, and ladders at least 597 times. It swings in the breeze and rattles away, but it has never come close to falling. This weekend, I actually thought it was coming down. Mr. H.C. had hit his head, and he immediately climbed the ladder to mess around with it; I started a celebratory dance and grabbed my camera, but no dice. It’s still hanging… I have a beautiful copper-based schoolhouse light that will hang there when the new ceiling is finished. But it won’t be 400 watts. I think Mr. H.C. is leaving it up as long as he can — he even insulated around it this weekend, so it could stay up and provide plenty of light while we finish the ceiling.

