DIY Cleaners, Cleansers, and Creams: Simple recipes that really work

When I wrote that post Every Day Is Earth Day I thought maybe later I’ll post some DIY recipes that I use all the time. So almost a year and a half has gone by… But today, I actually made a new batch of deodorant. I usually have to make it about 2 or 3 times a year. It’s pretty easy, after you gather the ingredients, and it only takes about 20 minutes. So I took photos. And here’s the recipe.

Homemade Deodorant

 (This recipe is adapted from wellnessmama.com and almost the exact recipe is also here on Revive)
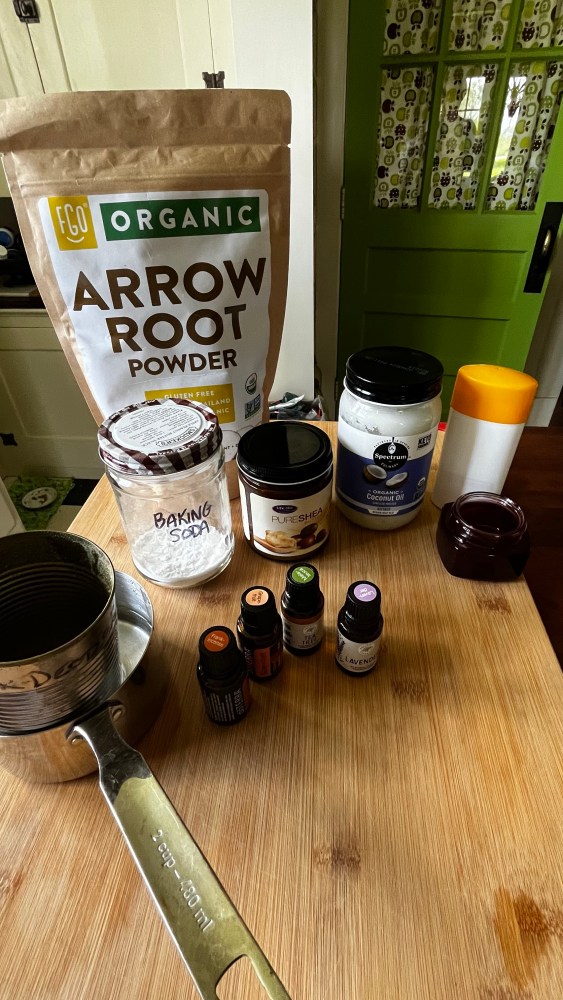
Ingredients:

3 Tbsp Coconut Oil

3 Tbsp Baking Soda

2 Tbsp Shea Butter

1-2 Tbsp grated Bees Wax

2 Tbsp Arrowroot or Cornstarch

Essential Oils (optional, but unless you are allergic to scents, please use them…)

Directions:

1.  Melt Shea Butter, Coconut Oil, and Beeswax in a double boiler over medium heat until barely melted; OR use a can instead and place this in a small saucepan of water until melted. I save my can for every time I make deodorant–I store the bees wax chunk in it, and I don’t have to wash it out. When melted together, stir well. You want all the beeswax stirred into the other oils because the beeswax is what will keep it from melting in the heat of summer, or a hot bathroom. (I use a chopstick).

2.  Remove from heat and add baking soda and arrowroot.

3.  Mix well

4.  Add a few drops of essential oil and pour into a glass container for storage. I use an old deodorant container, but be careful. The first time I tried this, I had two old deodorant containers–the first one worked fine and the second leaked out all over the counter. Old face cream jars or half-pint jelly jars work great too.

5. Some good essential oils to use for skin and deodorant purposes include: Tea Tree Oil (sometimes called Melaleuca); Grapefruit; Bergamot; Lavender; and Clary Sage. Some lists also include Rosemary, YlangYlang, and Cypress.

If you refrigerate the deodorant, it will firm up faster. After it is firm, it doesn’t have to be refrigerated.

Laundry Soap

Yep, I make my laundry soap too. I do have to add a caveat here: This laundry soap is not for extra dirty, or hard stained clothing. It works very well for regular wash, and old work clothes that already have paint stains and grease blotches. But on your nice clothes, bad stains have to be pre-treated with something else. Also, I have a top-loader with an agitator, so I can’t address how much soap to use if you have a front-loader.

Here is what you need:

Ingredients:

1/2 cup borax

1/2 cup washing soda

3/4 cup Castile soap

20 drops essential oils (lemon or other citrus, tea tree oil, lavender, and peppermint are all good)

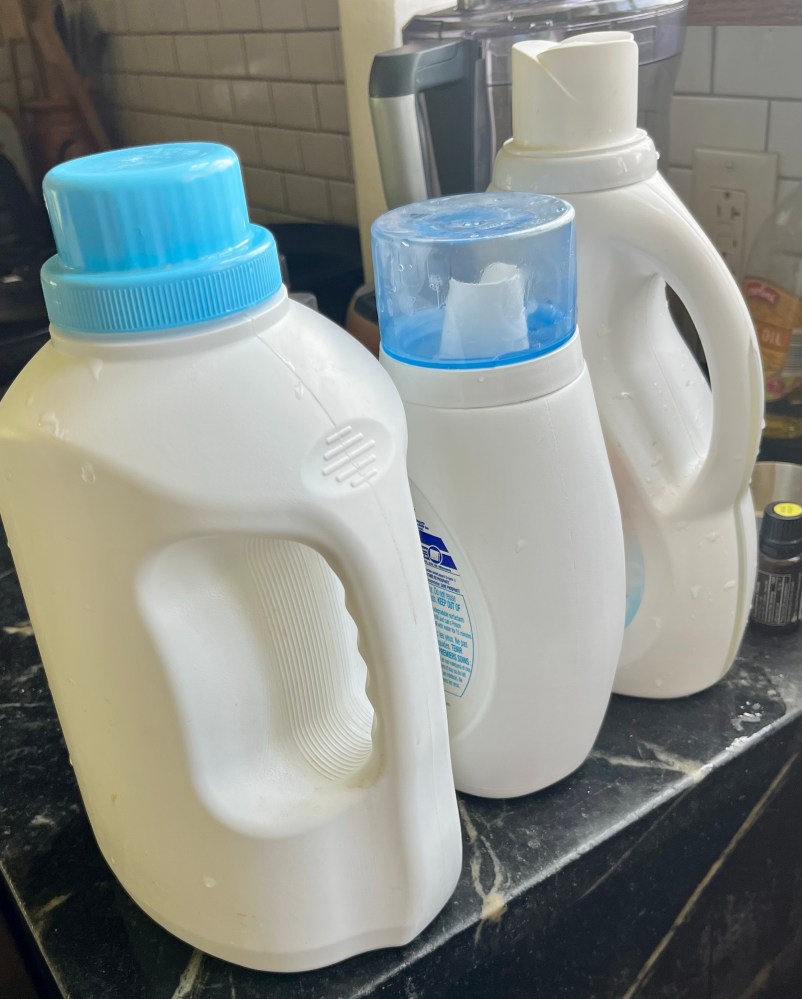
2-gallon bucket, and cleaned out laundry soap containers or clean gallon jugs

  1. Put the borax and washing soda in the gallon bucket and pour in up to a gallon of hot water to dissolve the powders. Stir around until it is all dissolved. The hotter the water, the faster the powders will dissolve.
  2. It’s handy if your bucket has hash marks for how may quarts or gallons, but if not, add another half gallon of water and stir around.
  3. Add the Castile soap at the end, otherwise it will foam too much. Stir gently to mix the soap in with the other liquid.
  4. Add about 20 drops of your choice of essential oils and stir gently.
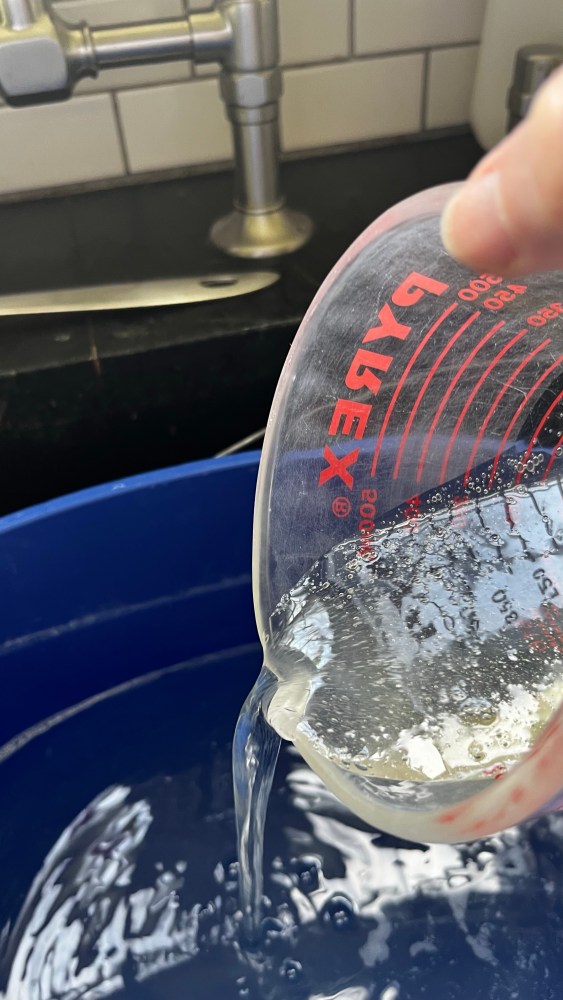
  5. Use a measuring cup to carefully pour into your waiting laundry jugs.
  6. (My original recipe called for using 2 gallons of water, but I’ve found that I prefer using less water. I usually end up with about a gallon and a half of liquid soap.) Be sure to shake well before adding to the washer. I usually use the cap of the container for a medium load. This is not a wild, soapy recipe–Castile soap is not known for its sudsiness.

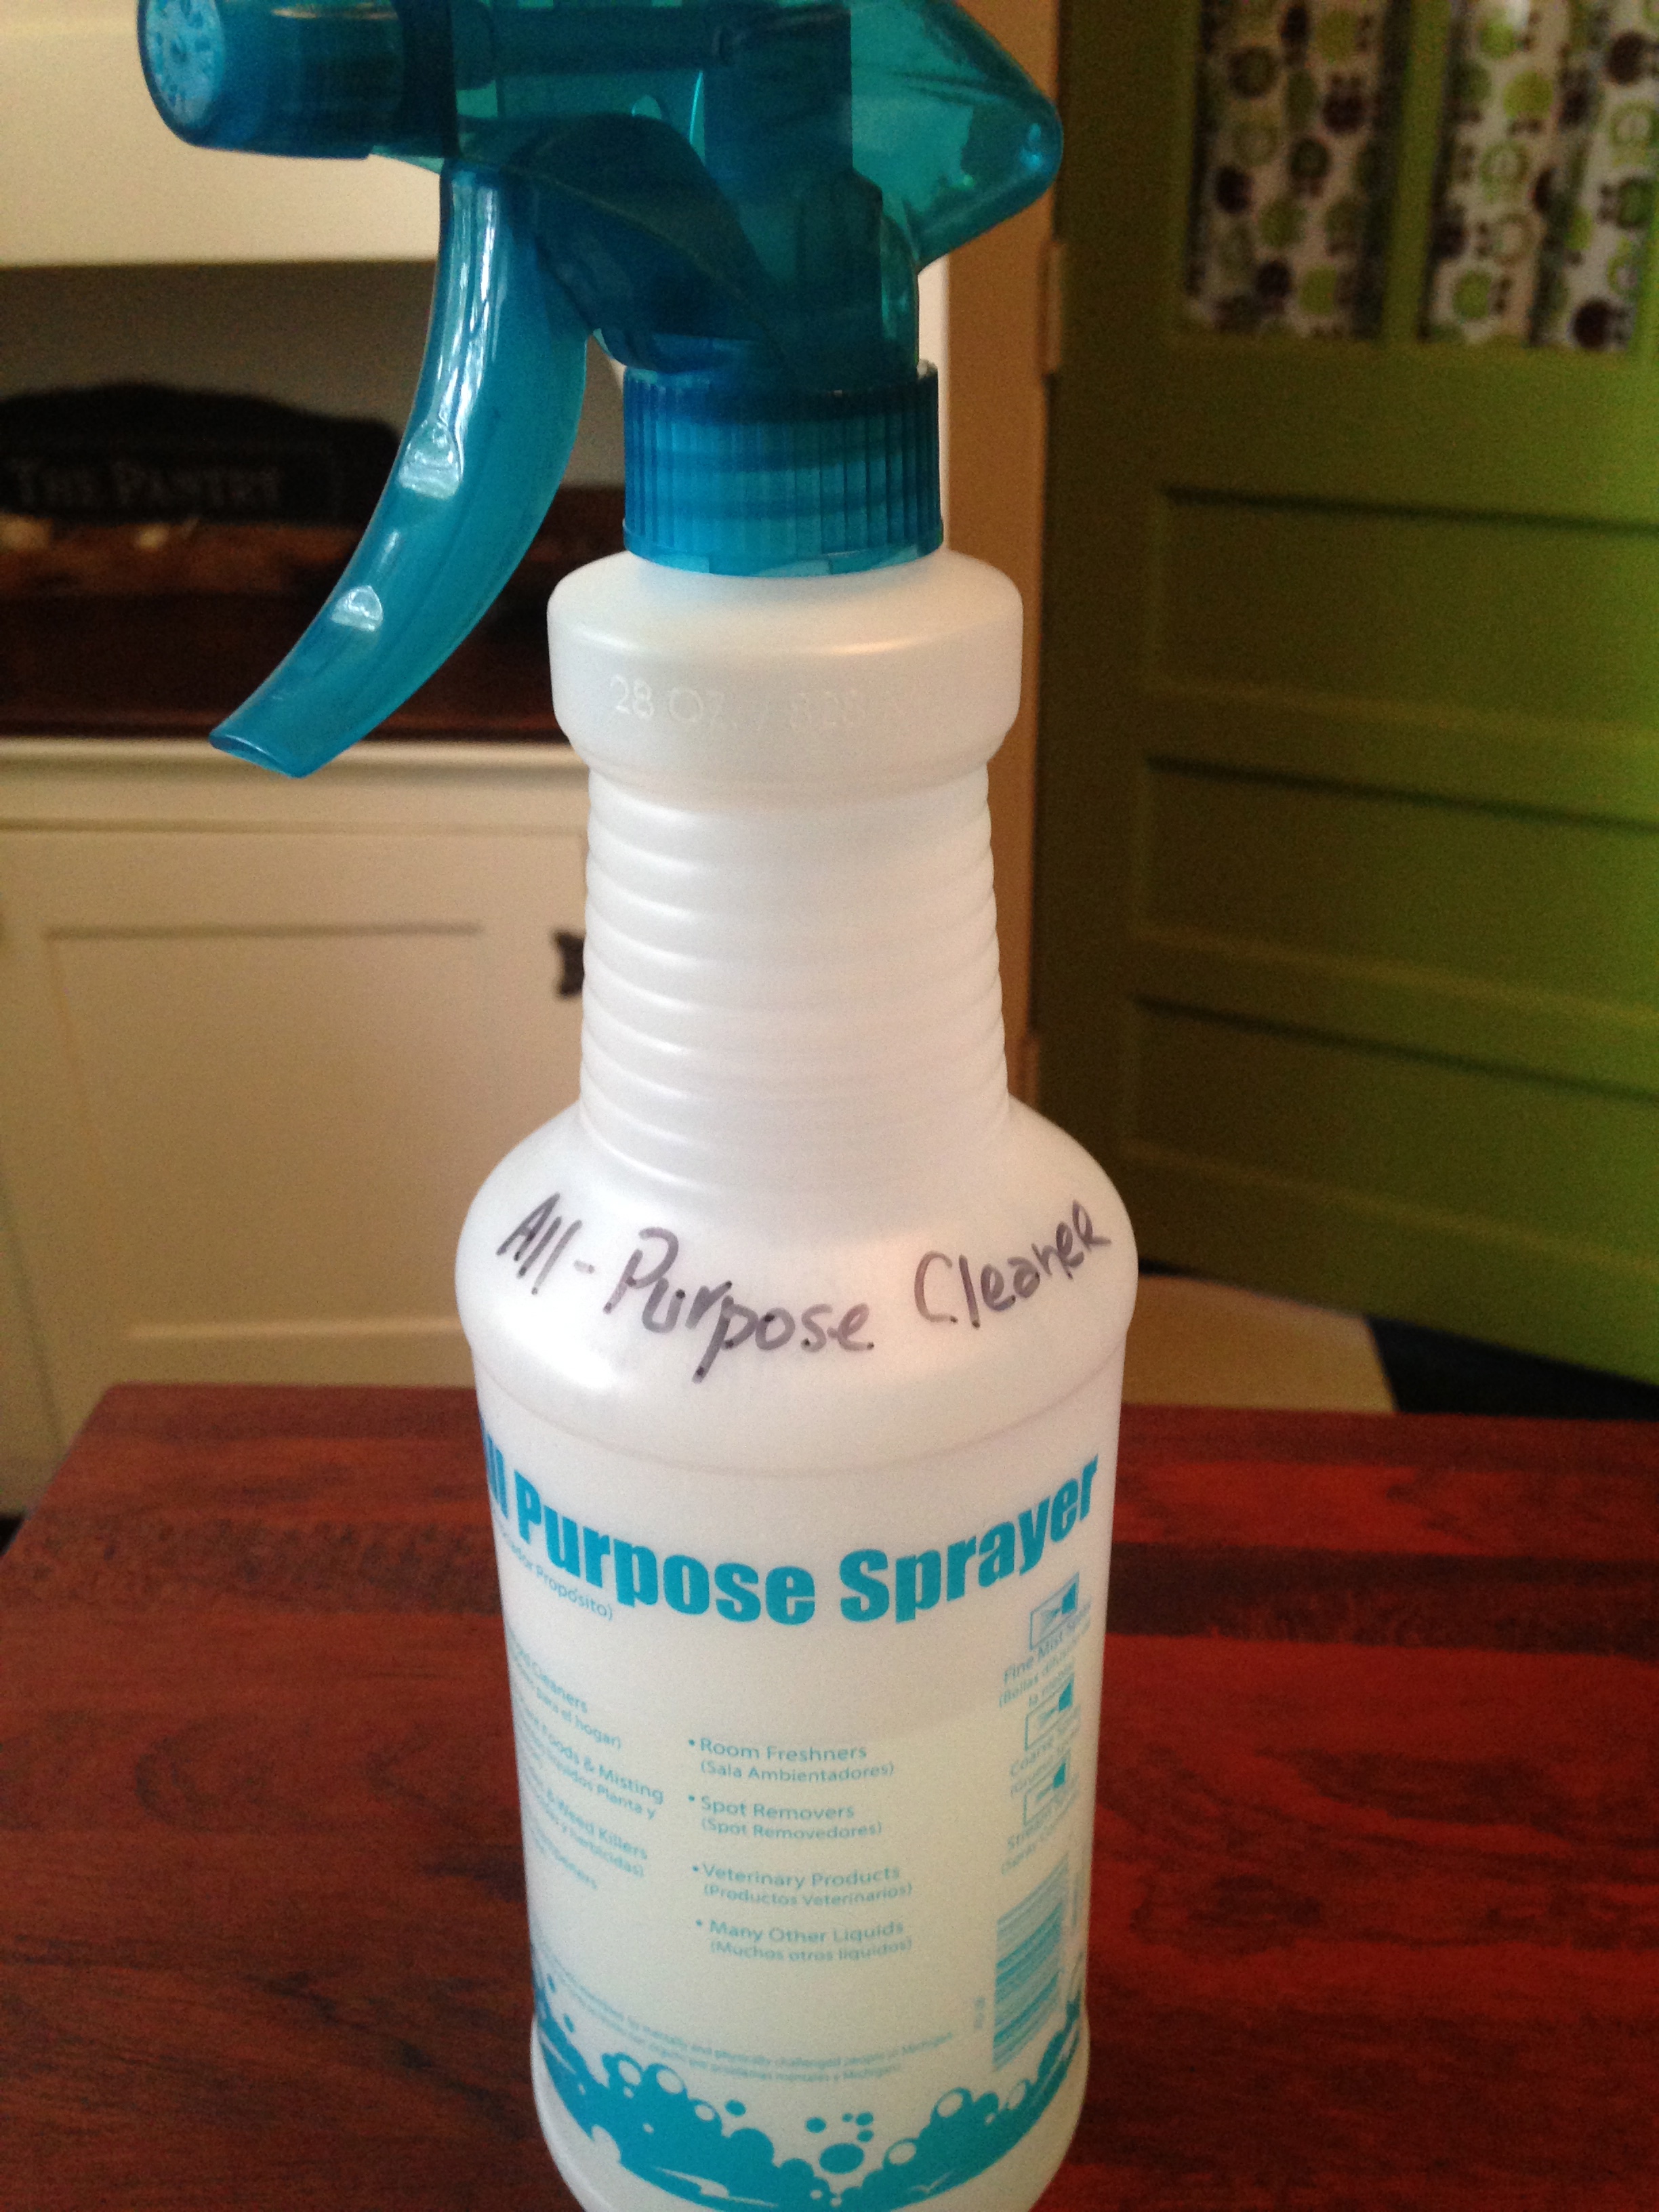
All-purpose Spray Cleanser 1

If you’ve got the stuff for laundry soap, you can use this similar recipe for a spray cleaner…

Ingredients:

1 t. washing soda

2 t. Borax

1 T. Castile soap

2 cups very hot water

10 drops essential oil–Lemon, Orange, or Tea Tree, or a combination

Dissolve the powders in the hot water. Add the Castile soap and the essential oils and pour into a 16 ounce spray bottle.

Spray Cleanser and Degreaser 2

1 cup white vinegar

1 t. Castile soap

1 T. baking soda

3 cups warm water

15-20 drops essential oil–Lemon, Orange, or Tea Tree, or a combination

Mix together and pour into spray bottle. Do not use vinegar on marble. This is good for stovetops, range hoods, tile, sinks, and general cleaning. I have not had success on my oven door though. Nothing seems to clean my oven door….

Right now we are working on the laundry room, so I’m cleaning and reorganizing and throwing stuff out. It might be the last room in the house. Maybe it will be finished enough for photos in a couple of weeks…

142. Skip the Cleaning Aisle: DIY easy green clean recipes

Earlier this summer several of us were cleaning a commercial kitchen at a children’s camp before camp started for the summer.

There was a lot of grease… everywhere.

My friend Joey introduced me to her recipe for an all-purpose cleaner that cuts grease better than the expensive, commercial, stinky stuff that contains “who knows what unpronounceable ingredients.”

I had been using a natural cleanser of my own — orange vinegar, sometimes with baking soda — which I like a lot, but this one is way better! I liked it so much, I went to the dollar store and bought my own clean spray bottle for it, instead of just using a hand-me-down bottle.

All purpose cleanerAll-Purpose Cleaner and Degreaser:

  • 1 teaspoon washing soda (not baking soda)
  • 2 teaspoons Borax
  • 1 teaspoon Castile liquid soap
  • 2 cups hot water
  • 10 – 15 drops essential oil (Good oils for cleaning use are cinnamon, lemon, orange, melaleuca, peppermint, and lavender.)

Mix all the ingredients and pour into a 16 ounce spray bottle, and get to work on that greasy stove top.

Green cleaning

Dishwasher Detergent

I’ve been using a green cleaner in my dishwasher, but I really don’t like it much. The glasses are cloudy when they come out, and the silverware doesn’t always get clean, even though I rinse my dishes in hot water before I load the dishwasher. I know it’s a waste of water, but I don’t want food collecting in the bottom of my dishwasher. And that’s the bottom line.

So I was delighted when I found this oh-so-simple recipe for dishwasher soap. I remember reading that homemade dishwasher soap was an issue, because Mother-in-Laws come to your house and inspect your glasses for spots. Well, guess what? This is a mother-in-law proof recipe! Here’s my glass bowl, fresh out of the rinse cycle.

IMG_6190

Dishwasher Detergent:

  • One part Borax
  • One part washing soda
  • White vinegar in the rinse-aid compartment

We have city water and I’ve used washing soda with great success. I have also heard that citric acid is a great addition to the rinse aid compartment if you have sediment on your plastic ware. But even the commercial dishwashing detergents leave sediment on my plastic stuff, and that’s just one more reason for getting rid of your plastic stuff. If you have citric acid, by all means try some with the vinegar. I was so astounded at how well this worked that I’m not going to bother with it. (If you are someone who wants research behind this, you can go to the blog post “10 things you should know before making homemade dishwasher detergent” by Little House in the Suburbs. Or you can just make this recipe, and be amazed that it’s so simple, and it works so well. Now if only I could discover a shampoo that is so simple and works so well…

Disinfectant

And here’s one more cleaner I love to spray on my countertops — both wood and soapstone. It is also a disinfectant, so it’s good for sinks and toilets too. And it is reputed to keep ants away. I can’t say about this for sure. What I can say is that it might work. I sprayed around Henry the Cat’s food bowl when I started seeing ants there, and now the ants are gone. But I’m also being careful to keep it cleaner and his food swept up better. Not only is he the King of Cats, he is the King of Slobs when it comes to the food bowl department.

Cinnamon Disinfectant:

  • 12 oz. hydrogen peroxide
  • 1 teaspoon cinnamon oil

Mix together in a spray bottle and shake well before every use. I use a bottle that has a mister option, and I love this cleaner for two reasons: the cinnamon in it smells terrific, and the peroxide in it foams up on contact with dirt, so you can tell it’s working. Use an opaque spray bottle — there’s a reason peroxide is sold in brown bottles. It’s a great addition to your green cleaning supplies. Use it as a disinfectant, on your tile grout, on your floors, or as a bleach replacement in your laundry. I’ve even poured it down our bathroom sink drain. Here’s a great article about using hydrogen peroxide as a cleaning tool.

But I’m not giving up on my orange vinegar — it’s the best on a linoleum floor.

94. Oven Ordeal

Somewhere about last April, I boldly pronounced that the next big project would be to move the kitchen stoves around. Yes, well…
It is January. I’m aware of that. One thing I’ve discovered while writing this blog: even though I write about what is going to happen, that doesn’t mean I have control.(In more ways than one…) I always have big plans in my head! Sometimes Mr. H.C. refuses to listen to those plans; sometimes bigger events happen that always serve to remind me who Is in control.

I’m certain that I whined a lot about the stoves. I had many good reasons to whine:

Under construction

Under construction…

  • The Apple Hill stove was still in the living room, while all other utensils, food, pans, etc. were in the bright, pretty new kitchen.
  • The stove in the cottage was Clara’s ELECTRIC stove, and I know that people will disagree with me about this, but I HATE ELECTRIC stoves because they always burn everything.

We also had to relocate Henry the cat’s food and water; nothing like having to search for your dinner bowl…

  • There was a large hole in the kitchen where the stove was to go, and it ruined all my photos of the kitchen.
  • My wonderful gas convection oven, which has never burned anything in its life, was sitting up in the city house cold, unused, and alone.

Switching stoves was definitely an ordeal, but we managed to get them both moved last weekend without dropping either stove on anyone’s foot, without either stove sliding off the dolly, and without anyone hurting his back. And we are filled with relief that we don’t have to switch refrigerators!

Safely inside, still strapped to the dolly.

Safely inside, still strapped to the dolly. If you look closely, you can tell that it’s not gonna fit…

The thing about this beautiful black range is that it just isn’t regular. It borders on being a built-in, and even though it has the same dimensions as most stoves, there are just a lot of quirks. It was 5/8 of an inch off, and something had to give. It was either cut the soapstone countertop or cut the cabinet or cut the wall. The wall won — the cabinet is now recessed 5/8 of an inch into the wall.

The dry wall was cut out, and the stud at the corner was notched to enable the cabinet to slide back 5/8 of an inch.

The dry wall was cut out, and the stud at the corner was notched to enable the cabinet to slide back 5/8 of an inch.

Once that side was done we pushed the stove in place, but it wouldn’t go far enough to the back wall. Turns out, the gas hookup had to be lowered. Twice. The floor even had to be cut out around the pipe to get it low enough for the back of the stove.

See the flooring cut out?

See the flooring cut out?

I’m blessed to have an even-tempered, patient husband who did not once throw a tool or utter any curses (at least out loud). All told, it took nine and a half hours — we unloaded the stove from the truck at 10 AM and Mr. H.C. turned on the gas around 7:30 PM. (Yes, the pizza delivery guy knows where we live.)

Henry in a prison of his own choosing...

Henry in a prison of his own choosing…

Henry the cat, however, was not even-tempered. The noise of various saws and drills and air compressors drove him to the basement where he sulked all day, hidden behind some boards. This was so unlike our usual placid kitty, we actually thought he had suffered a kitty stroke. It’s not as if he’s never heard power tools before… Mr. H.C. finally took down a box and a blankie and set it near the heater vent. He curled in, and we shut the door to keep out the noise.

It's a good thing he's skinny. I had to slide over a ladder and he stepped out on to the ladder rungs to get out.

It’s a good thing he’s skinny. I had to slide over a ladder and he stepped out on to the ladder rungs to get out.

To busy myself while all this was going on, I cleaned the stove! And I have another gorgeous tip for all you people out there who love organic cleaners. I love to clean with vinegar and baking soda, but I don’t love the smell. (Drum roll, please…)

Orange Vinegar!

Orange Vinegar!

Put your orange peels in plain old white vinegar and let it sit on your counter for a few days. It smells so wonderful, you can hardly tell it’s vinegar! Well, okay, not quite. But it sure beats the smell of the plain stuff. It smelled so good, I’m going to use some of the next batch for cole slaw dressing. And I’m also going to try it in Olive Oil. Have any of you ever been to a Vom Fass store? Delicious Vinegars and oils in pretty little bottles and very pricey! Yep, I’m makin’ my own Extra Fancy Orange Vinegar!

IMG_3639Back to cleaning the stove — the baking soda and orange vinegar did a perfectly serviceable job of cleaning the top. I had actually cleaned the oven about a month ago in anticipation of moving it, so all I did with the oven was give it a wipe down; but the baking soda and orange vinegar fizzed off the caked-on brown stuff on the glass of the oven door, too. It is so clean, it reflects the floor!

It didn't take long for it to collect pans, teapots, and a utensil jar...

It didn’t take long for it to collect pans, teapots, a utensil jar, and a pretty new towel…

And here’s another shot from a different angle:

Yes, I cleaned the counters just for this picture.

Yes, I cleaned and oiled the countertops just for this picture.

Our first meal was baked salmon. And next week I’m baking this Coconut Lemon cake from Foodie with Family for someone’s birthday…I think he deserves it!