55. The Cave under the Cottage

If you’ve ever been caving, you might know the feeling — a generic uneasiness as you’re thinking about it and hiking to the cave; several gulps and maybe some sweating when you see the entrance and realize it’s barely big enough for you to get your shoulders through; deep breaths to keep the panic away when the darkness envelops you; the urge to shout when you emerge from the dark hole in the ground. YES! I LIVED!

I went caving once when I was younger, braver, skinnier, and more bendable. I had to crawl downward into the entrance head first and had to stand on someone’s shoulders to be shoved out the exit. I never had the desire to go again, although I did feel euphoric when we all emerged from that tiny hole unscathed.

There is a cave under our cottage.
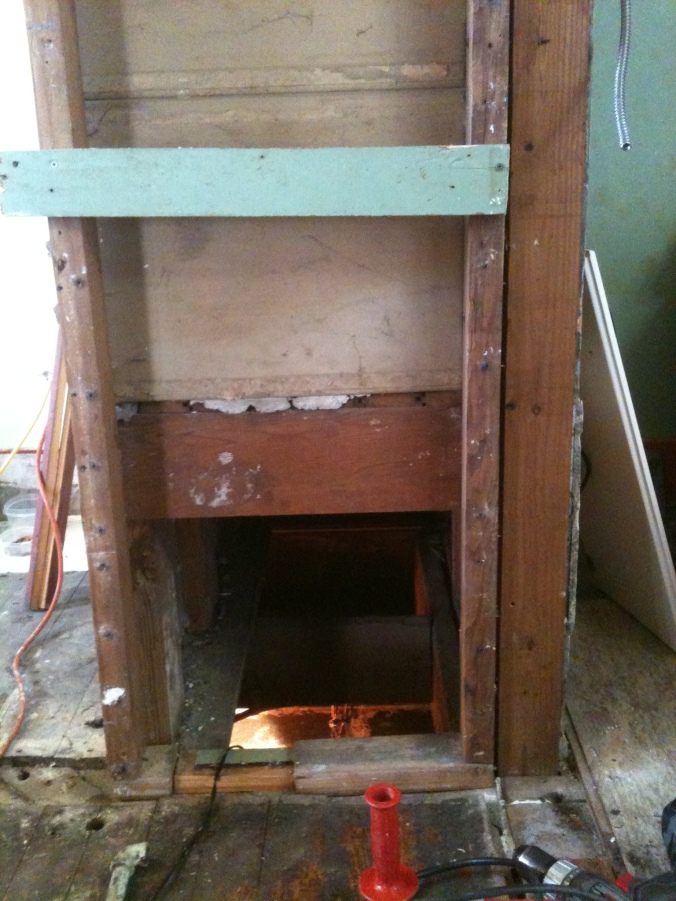
No, it's not a coal mine.No, it's not a cave.It's our very own access to the bowels of our cottage. And it's right in the kitchen!

No, it’s not a coal mine.
No, it’s not a cave.
It’s our very own access to the bowels of our cottage. And it’s right in the kitchen!

The opening is about 18″ square. You don’t have to go down head first, but you might have to stand on someone’s shoulders to be shoved out… There is another way in and out, but you still have to shimmy through the crawl space in the dirt and rock to get there. And that’s where the plumbing is. And that’s where the wiring is. And that’s where the gas line is.
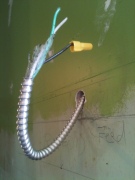
caving 002We knew that Mr. H.C. would have to go down there. The gas line needed to be moved for our stove; the mouse chewed wires needed replacing with mouse proof aluminum BX cable, and the plumbing to the refrigerator needed to have copper line run to it. And we were hoping to add to the duct work to have another register in the kitchen floor.

We kept putting it off. There were thoughts about Spiders and Mice and Snakes, oh my, but the snakes were the biggest worry. We looked it up. (Mr. H.C. isn’t married to a librarian for nothing!) Rattlesnakes (not likely) hibernate in Pennsylvania until April. Copperheads (more likely) hibernate in our area until March. Hmmm. I tried to be upbeat, but after all, it wasn’t ME going down there. I would have taken his place, but I don’t know nothin’ ’bout nothin’. Let alone plumbing, wiring, and duct work…

Our neighbor said, “Ah, you’ll be okay. If you see a snake, just don’t corner ’em.”  That was the confidence Mr. H.C. needed. He packed up his biggest hatchet, put on his hat light, and strode off to the mines.

We sent Mr. Henry down first as a scout. Sort of like the canaries they send into the mines? He took one look at the opening in the wall and hopped right in — down the rabbit hole — eager to explore. He disappeared and in a few minutes was back, with only some dust on his whiskers and seemingly unconcerned, at least about mice or snakes.
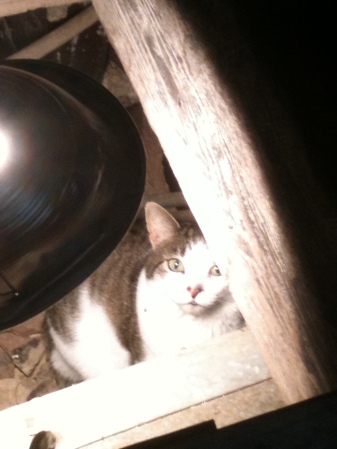
the cat in the cave

The work went just about as smoothly as it could. Of course, I’m the one writing this, and I was also the one who was upstairs holding lights, feeding gas and copper lines, and handing down tools. The easy job. The clean job. Yep, those are the ones I like…

Mr. H.C. did not have the clean job. No, he didn’t. To grab the flexible gas pipe you see in the photo on the left, he had to slide up on his back in the dirt. The workable space diminishes as one gets further in — there is about an 11″ clearance between the floor joists and the ground. Did I mention dark?
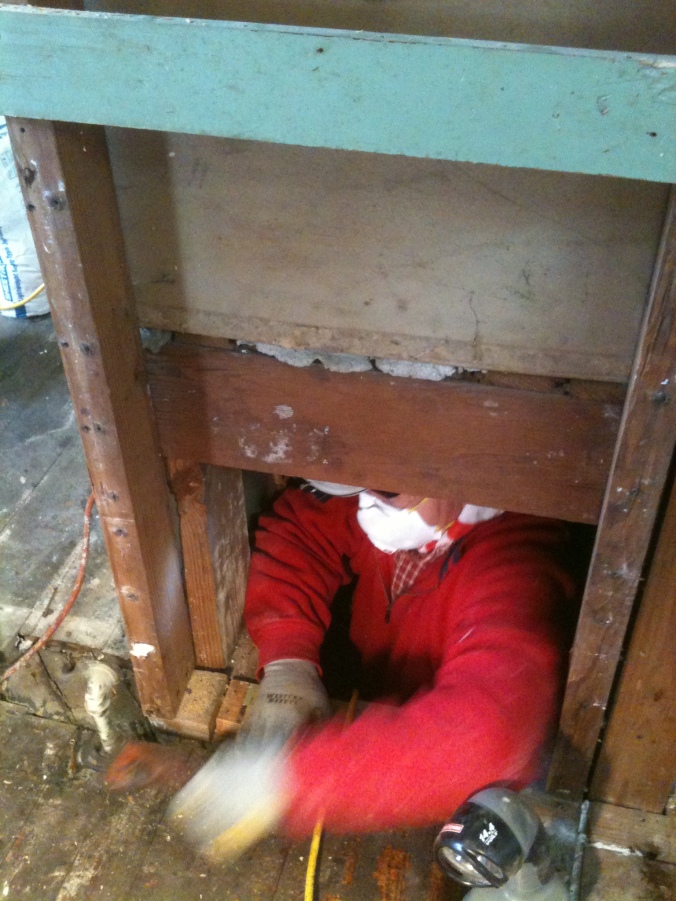
caving 009
It looks as if he should be able to jump right out, but there is duct work in the way, so he had to slither through the crawl space to get out. Thank goodness he was the only one slithering — no snakes or critters of any kind, alive or dead, were spotted during this adventure.
caving 012And as if we don’t have enough holes in this floor, Mr. H.C. cut another one and in 15 minutes had the duct work fitted for a new register in the kitchen floor. With two registers and all the holes patched, this kitchen might be downright toasty next winter.

And Mr. H.C. was indeed, euphoric when he had climbed out of that tiny hole unscathed. How about a shower and a glass of wine?chardonnay on the porch

45. Hearth Songs

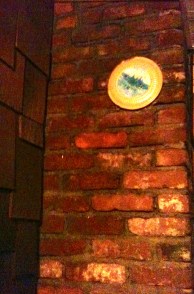
The chimney at the cottage touches three rooms — the kitchen, the living room, and the mudroom. Chimney in mudroomIn the kitchen and in the mudroom there are round openings for connecting up stoves or stove pipes. (The holes are covered with odd metal circles that look like paper plates.) In the living room is the fireplace. Bare brick only shows up in the mudroom, and it is rough. Perhaps that’s why the kitchen and living room parts of the chimney were plastered or paneled over. From time to time I lobby for uncovering the plaster in the kitchen or the living room for a partial-view of rough red brick, but Mr. H. C. vehemently vetoes the idea (quite stubbornly) every time.
IMG_1690

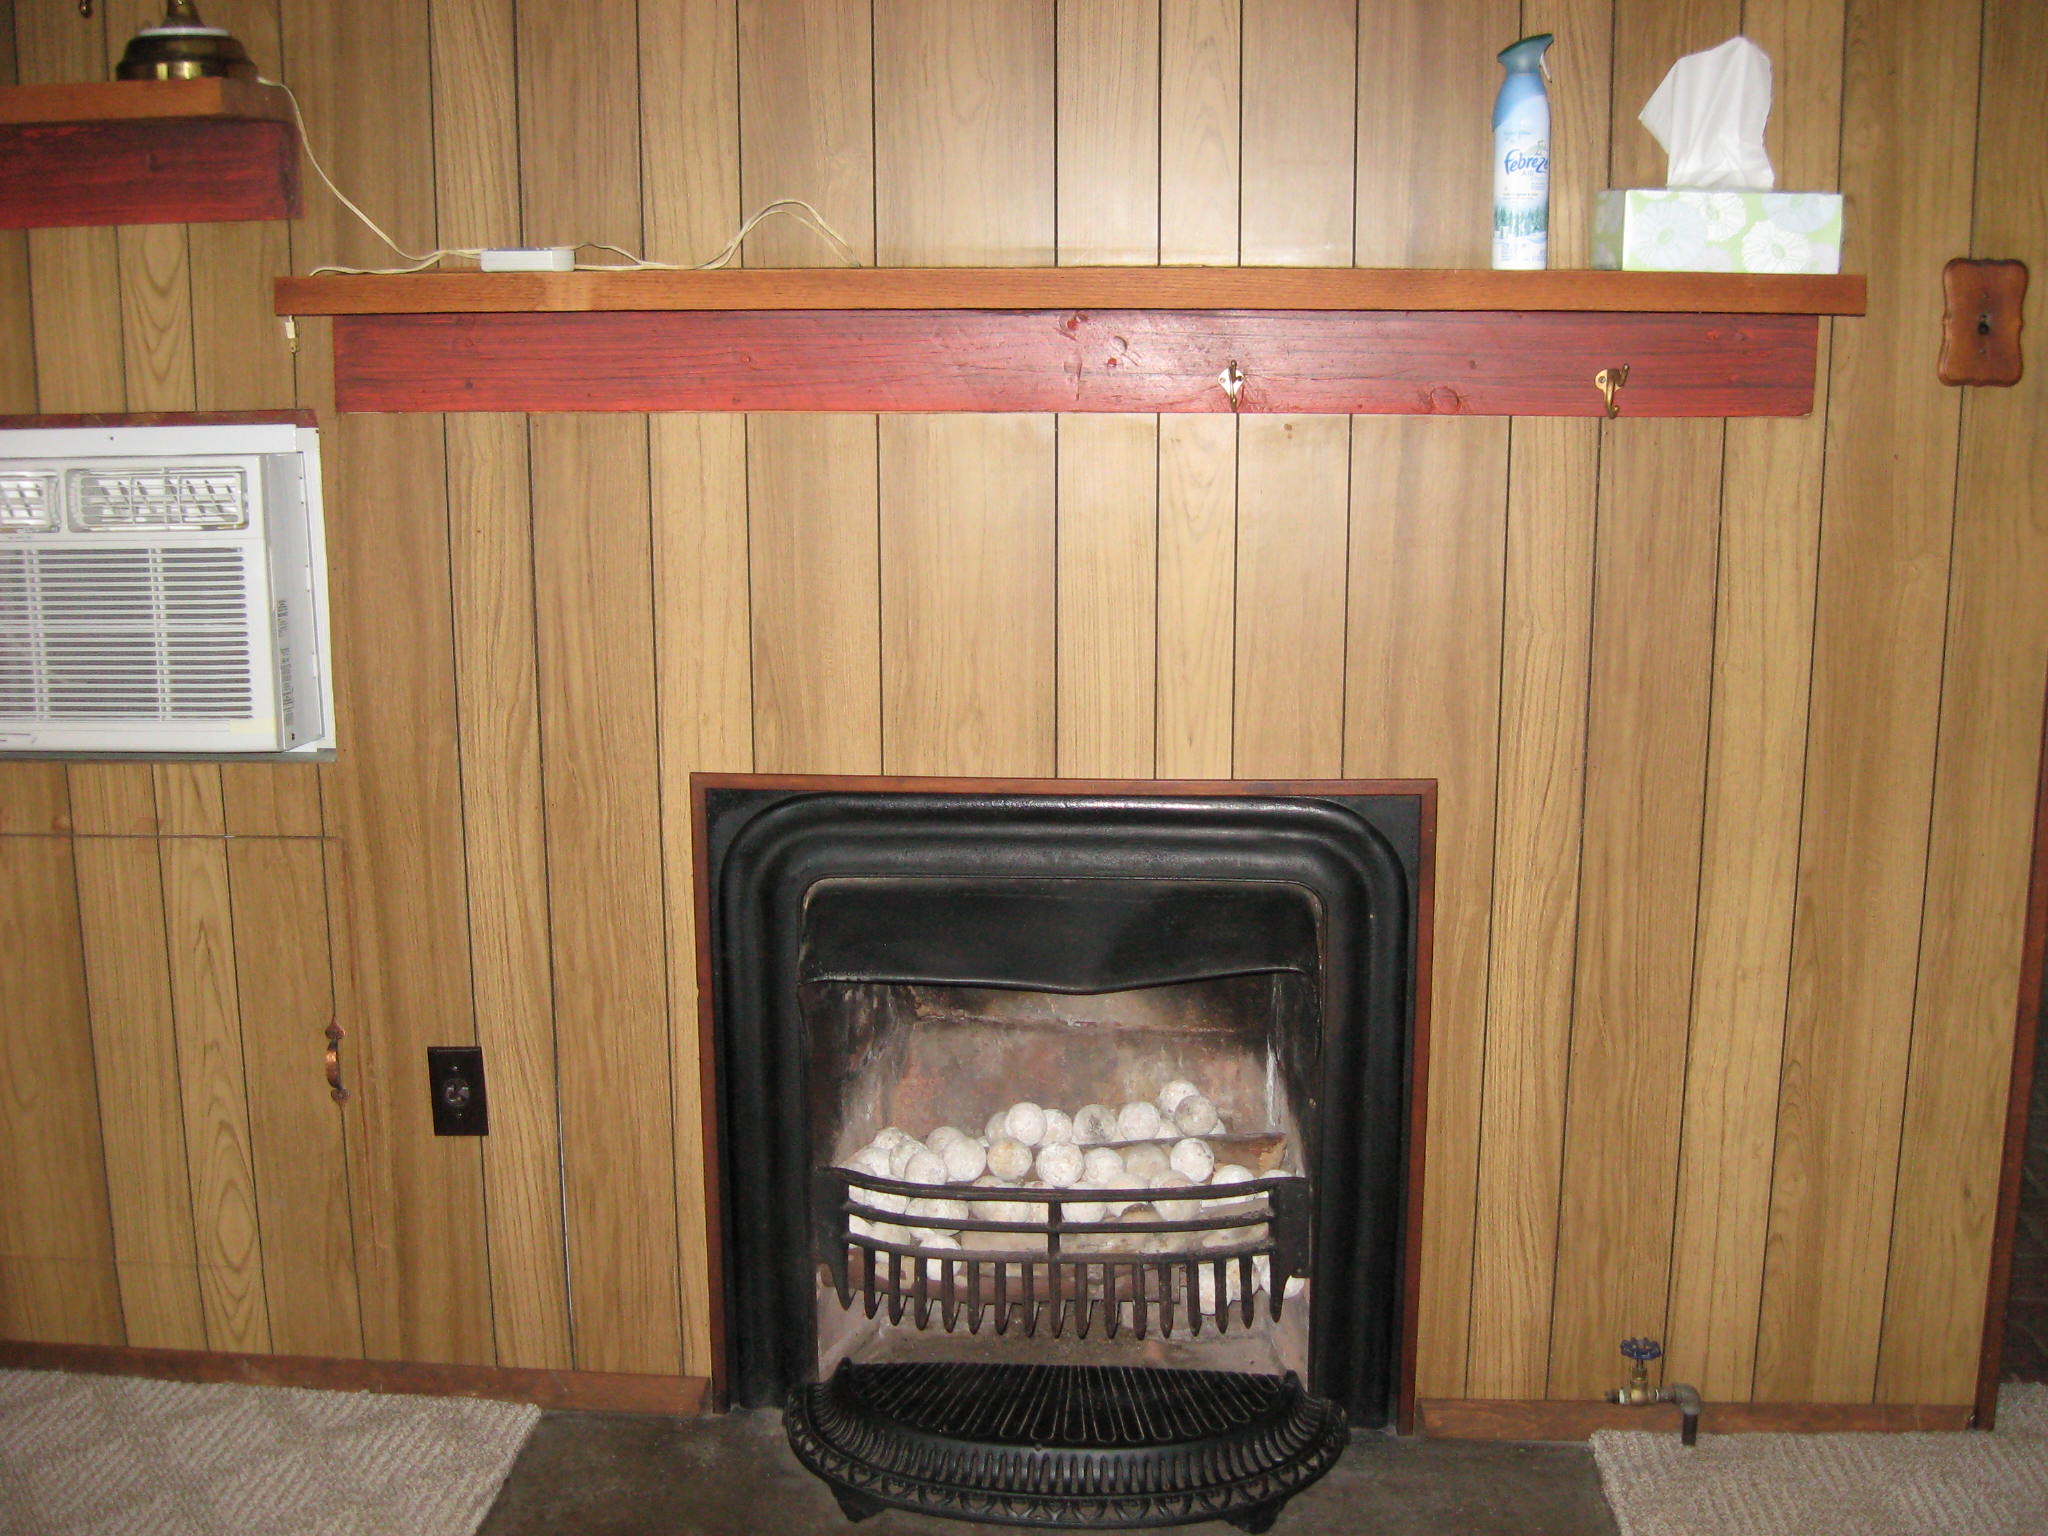
This is what the fireplace looked like in August 2011, when we first acquired the cottage. Clara’s knickknacks and collectibles are gone from the mantle, and in their place is the febreeze and tissues!

It’s been a puzzle to us, how we were going to fix up and adapt the chimney for our use. We know it will need work, no matter what we decide. Earlier in the process of rehabbing the kitchen, when we were more naive, we took off the round stove pipe cover in the kitchen (just for curiosity); we discovered it was full of leaves, sticks, ashes, probably mouse nests, bird feathers, and other unmentionables. We quickly put the cover back on and said, “Okay, something else we have to clean before the kitchen reno is finished.”

We were supposed to do that this weekend (in my mind anyway…) but it was just another thing that got put on hold while life happened. It will be next weekend, I think; but it’s just as well because, dear readers, I think you would be totally disgusted by any pictures of this process. So I am off the hook for showing them to you; you are off the hook for having to look at them, and we shall simply move on to other, more favorable aspects of the chimney…

IMG_1158

Not that this is very favorable! But you’ll notice that tools have replaced the Febreeze. And notice the paint shadows around the fireplace that tell us where some sort of hearth used to be.

We found this mantle pictured below in Waynesburg at a great little store called Jan’s Country Nook and Hardware. She bought the hardware store several years ago; she has kept the hardware inventory and added her own antiques and collectible finds. There’s everything from hard-to-find screws, antique oil finish, wash basins, quilts, canning jars, and old whatchacallits… A fireplace mantle in the window drew us inside. When we walked in, there were two old timers there looking around and offering their commentaries — “Well look at this, I ain’t seen one a these in years!” “Is that a real stuffed coon? He looks like he’s seen some hard times!” She had several fireplace mantles leaning around, and we found this one that was the perfect size. Well, almost perfect. So we paid our $75 and hauled it away.

Fireplace mantle

This mantle is old (dove-tailed joints) and made of pine, but stain-varnished to look like oak. I love that about it. It was made by a craftsman who just used pine…It was also used for a coal fireplace because it is filthy with coal dust. That’s what gives it the lovely patina! We aren’t sure what will happen when we start to clean it. The stain varnish may come right off and we’ll end up painting it…Ah, the adventures an old house brings!

Only after we got home and leaned the mantle up against the fireplace, did we seriously start looking for gas logs. (See post 41. A Winter’s Eve.) And that’s when we discovered that our lovely little living room fireplace is actually for coal. This was typically done in Victorian houses in bedrooms for a lttle extra warmth. The fireplace dimensions are small, so gas logs are out. What’s in are very nice looking (read expensive) coal baskets.

Coal-basket

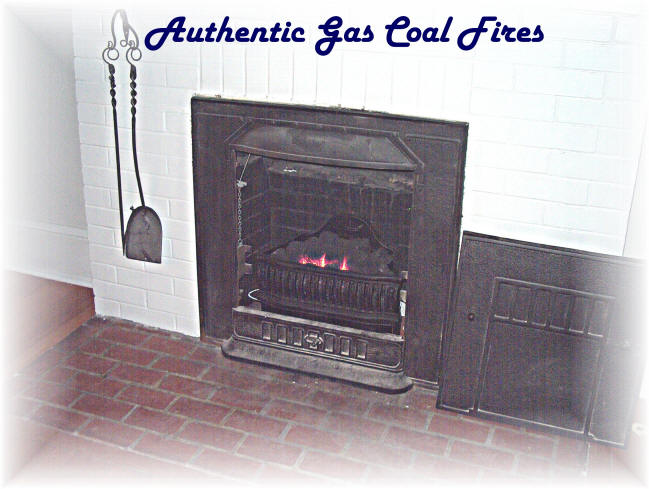
This is a picture of a coal basket from Four Seasons Supply; they sell these gas-coal baskets to retrofit old coal fireplaces.

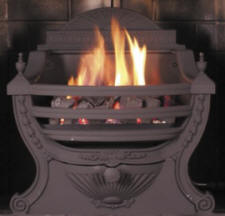
Here is a another style from the same company:16c493f0

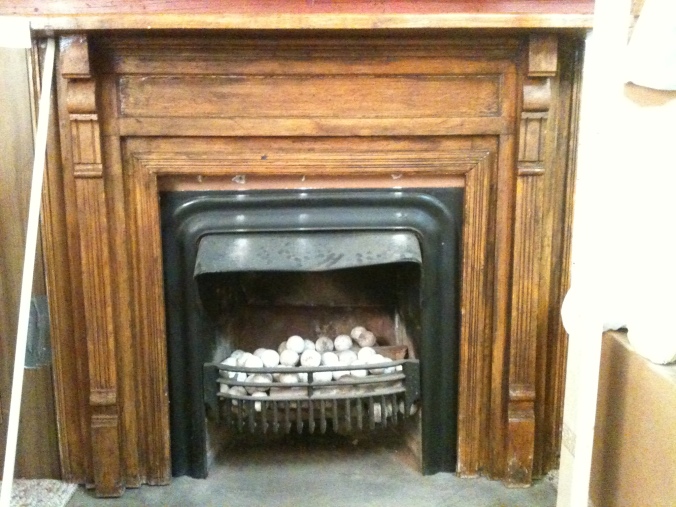
If you look closely at one of the photos of our fireplace, you’ll see that we already have the coal basket, so we’re hoping to find a unit that just has the burner and the coal thingys. (Oh, I love the exactness of the word thingy — and the best part is it can be substituted for ANY word! Hand me up that thingy… Did you see that thingy I’m looking for?… What are those round thingys in the fireplace?)

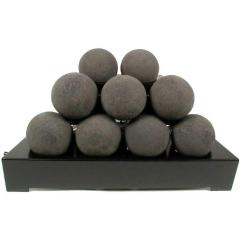
Yes, those round thingys in the fireplace are clay balls that were used to hold the heat in fireplaces. Michael counted them as he took them out of the coal basket — 61 of them! We both thought they were odd; most people who come here ask what they are. But while researching coal fireplaces, I found these fireballs. fireballsThey are now the “Contemporary Alternative” to gas logs at the Gas Log Guys website. Fireballs can be purchased in several different colors — brown, white, gray, adobe red, and black. We only have white, but if you like ’em, we, uh, have 61 for sale…

After Michael took out the fireballs, we put the decorative sycamore logs back in the coal grate and went looking for the little cast iron semicircle thingy that used to be in front of the fireplace. We found it and put it back. I cleaned the mantle this weekend (instead of the chimney) and sure enough, the stain varnish is chipping off in places.  We will have to paint it,  or antique it, or encourage its distressed look in some way, but that is more research and another post. Cinnamon brown? Dark gray? Gray-green? (Michael says no to antique white!) Stay tuned. But for now it has been decided — the wood stove with its real fire will go in the mudroom. Stay warm…

20130126-230558.jpg

42. Tackling the mudroom

This wonderful warm weekend I discovered that it’s not just the sun I miss during winter; I also miss being outside without coat, hat, mittens, and boots!

Wait! What’s that yellow glow? It’s the Sun!

It was really warm this weekend. Like 65 degrees warm! The sun was out occasionally, peeking through the clouds, but mostly it was gray. I didn’t mind. We turned the heat off in the cottage, and opened the doors. Henry went in and out and was happy. I went in and out and was happy. We even had a bonfire on Saturday night (just a small one) and it was warm enough to stand outside next to it WITHOUT jackets! Mother Earth Farm –the garden center next to the cottage (How wonderful is that statement!) has the countdown on their sign — 10 weeks until spring!Bonfire in January
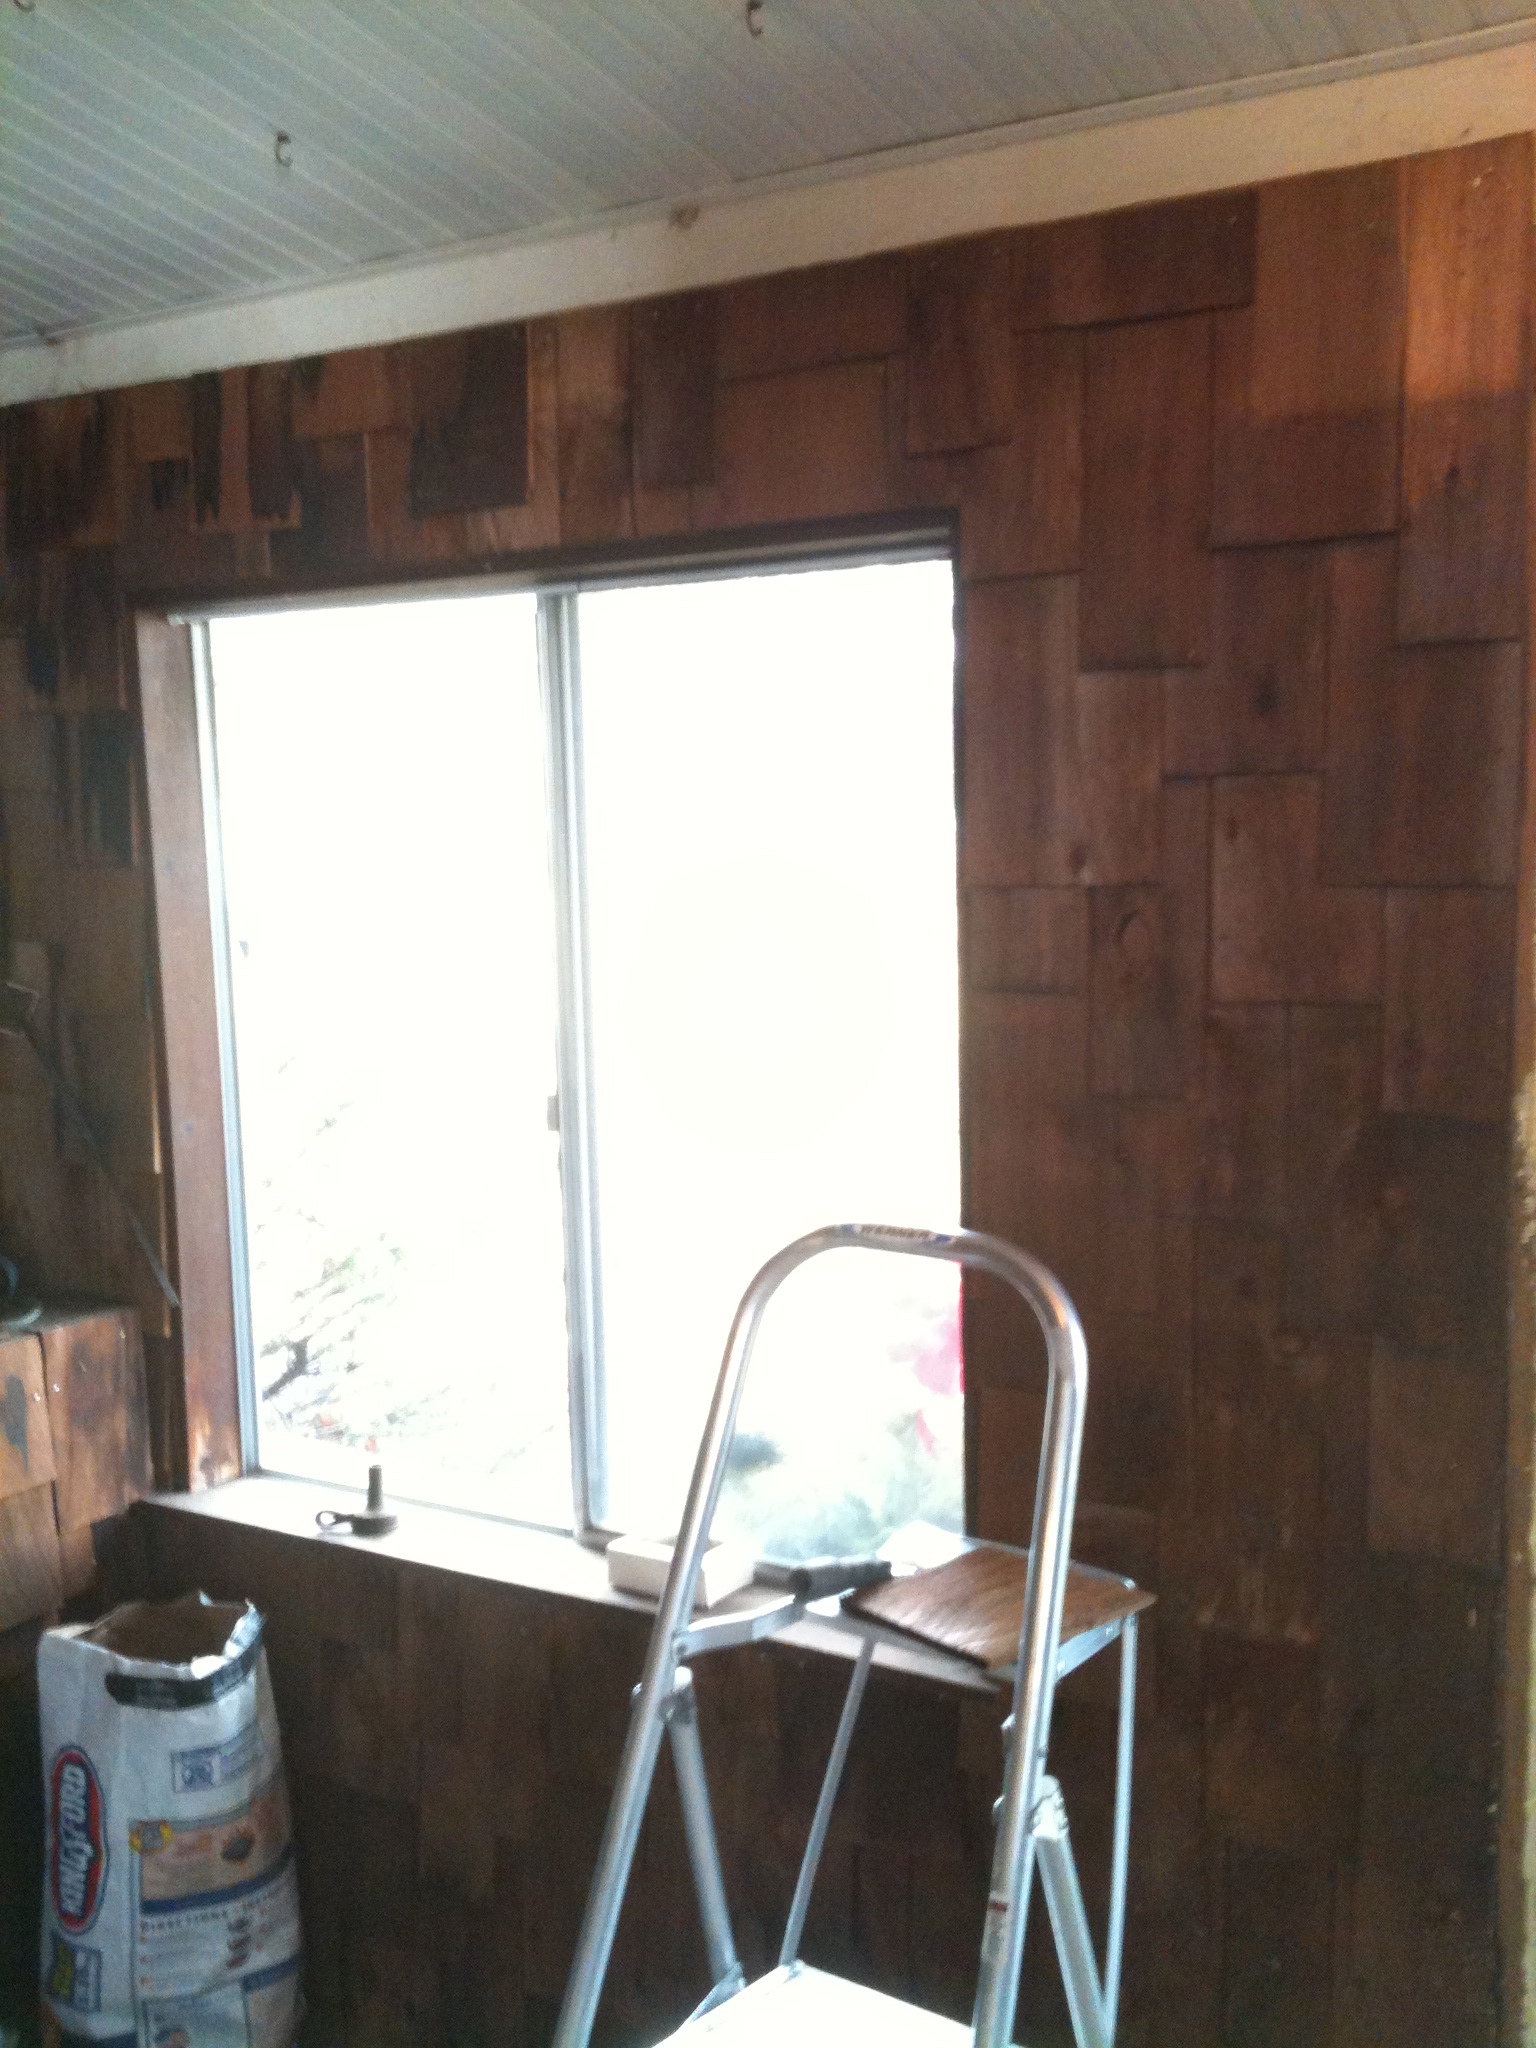
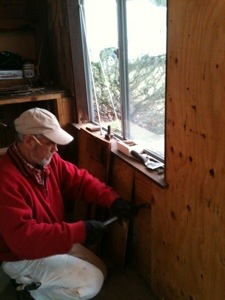
Mr. H.C. was rebuilding the last window down in his workshop (and kind of grouchy about it) so I was on my own. But he actually gave me permission to start destroying the mudroom. Demo, as it is known in the trades, is a blast, and usually he gets to do it; but with the door open, and my crowbar in hand, I started taking off the cedar shakes that are were the “walls” of the mudroom. (Probably he was grouchy because he wasn’t wielding the crowbar!)

One of the mudroom walls covered in cedar shakes

One of the mudroom walls covered in cedar shakes

I know you are going to ask why we would begin messing up ANOTHER room in the cottage before we are even half-finished with the kitchen… Well, you see, the mudroom is attached to the kitchen. In fact, it is the Entryway to the kitchen. And the doors that we are going to put between the two rooms have to go in NEXT. So the doorway/wall between the rooms had to be taken down, so we can rebuild it to fit our new beautiful French doors that we got for $70 last fall. (You can see them  here in post 16. The Color of Apples .) They aren’t quite the same size as the old sliding glass doors, so building the frame for these doors is the next project.

Let me tell you — taking down and rebuilding is a S-L-O-W process! It took me all day and I didn’t quite get all the shakes off. I was trying to be careful because we might want to reuse them for something. Don’t you think a chicken coop sided in natural cedar shakes would be poulet heaven?

I found this rustic chicken coop sided in cedar shakes at www.theartofdoingstuff.com. I fell in love with it and even pinned it to one of my pinterest boards.

I found this rustic chicken coop sided in cedar shakes at www.theartofdoingstuff.com/chicken-coop-inspiration/
I fell in love with it and even pinned it to one of my pinterest boards.

20130112-232710.jpgAfter Mr. H.C. primed the last window, he came up to help. His mood visibly improved once I shared my crowbars. I understand. Windows have gotten me in a funk before as well. (See post 29. Being Thankful for Failure Takes a Better Man than I.)

The downside of the warm weather and demo-ing a mudroom were ladybugs and stink bugs. They were everywhere. Behind the cedar, under the cedar, in groups, single, falling from the ceiling, crawling on the floor… We thought it was just because we were taking off old cedar that had been there for thirty years, but it turns out this warm weekend brought out the stinkbugs in Everyone’s houses, not just ours. We ended the satisfying weekend with only two splinters, several boxes of acceptable-to-reuse cedar shakes, and almost-bare mudroom walls.
IMG_1111

Yep, the walls ain’t pretty!

On to Door #2!