The bathroom project: planned 9 years ago, completed (almost) during quarantine…

It’s a bit ironic; the online articles and posts suggesting that perhaps you should do a home project while you’re quarantined at home. Or the other articles that snidely suggest you’re an overachiever if you even attempt a DIY project now. (The good thing about a quarantine DIY is that no-one is going to show up at your house, when there is junk, tools, and sawdust covering Every. Single. Surface.)

Dueling ladders…

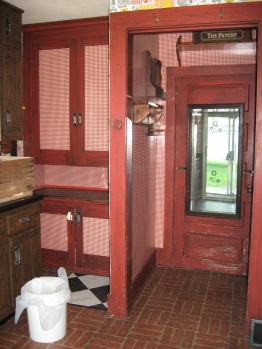
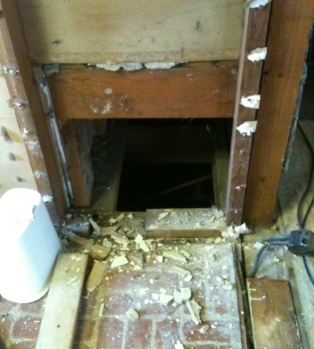
Our bathroom has looked like a third world bathroom for 9 years. When we inherited this little cottage, it was the room we planned to redo first. The smallest, the most-in need, the most bang for our buck… Plus, the kitchen was daunting because, well, it was the kitchen. Truth is, the bathroom has the access into the attic, and it took us a long time to figure out how to get an attic ladder in such a small space. Before, one had to bring in a ladder, and push a piece of plywood away to get up there. Here is how the access door finally turned out:

The attic access door that stopped all progress…

Nine years later, after Covid-19 has relegated us all to our houses, we tackled it. No excuses, nothing else to do. So we’ve actually utilized our time well. Of course, there were times of distress, and interruptions, and arguments, but that’s just routine in DIY projects, and anyone who has ever done a home project knows that to be truth.

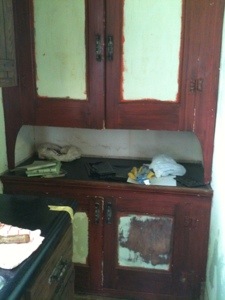
It was a great day when this old sink went out for garbage pick up. We put it out a couple of days early, but no one was in the market for a sink and cheap faucets.

When we uncovered the bathroom vanity that we had purchased at a Restore in Pittsburgh, we found a sticky note that had the date of purchase: Sept. 9, 2011. We had gathered supplies in fits and starts since that date.

  • We bought floor tiles for the shower early on right after the vanity and the mirror;
  • a round copper sink that we found in Deep Creek Maryland one summer on vacation before this little cottage was even ours;
  • Mr. H.C. got a pricey toilet for free, and we had it for such a long time, we gave it away to someone else who needed one;
  • we had tile for the top of the vanity for so long that when we got it out, we couldn’t figure out how we had thought we were going to put it on, gave up, and bought a new wooden countertop instead. We went to Burton, Ohio to pick it up, two days before the PA lockdown started;
  • that same weekend we went to a small independent plumbing place to get some pipe and ended up buying a commode from him. He was so grateful, and it made us aware of how much we just shop at the big box stores because it’s easier. Nothing is the same now, and we all need to think carefully about what stores we want to support.
  • Faucet, sink drain, and shower fixtures were purchased a couple of years ago when we thought we were getting ready to do the bathroom. We did the ceiling and some electrical work, and then we ended up doing the back porch instead.
  • the replacement window came in just after the PA lockdown started. We have been grateful that plumbing supply and hardware stores are considered essential…

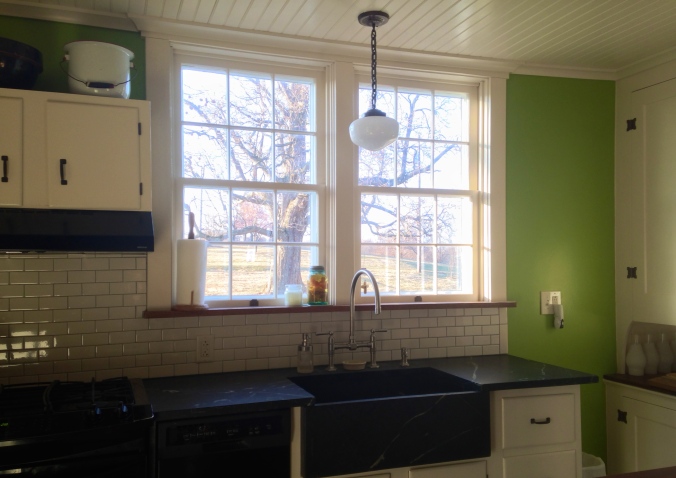
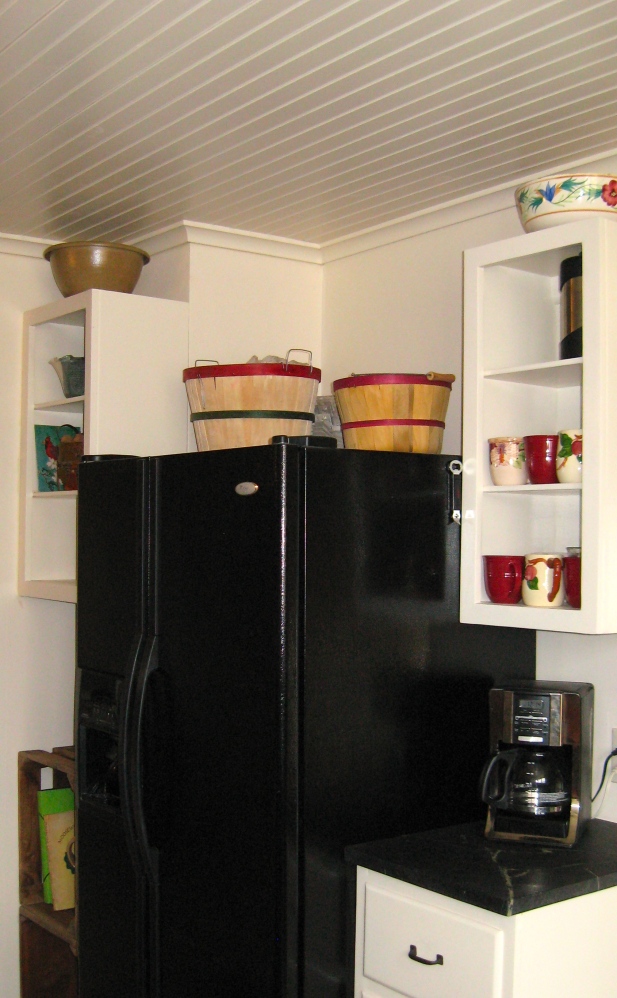
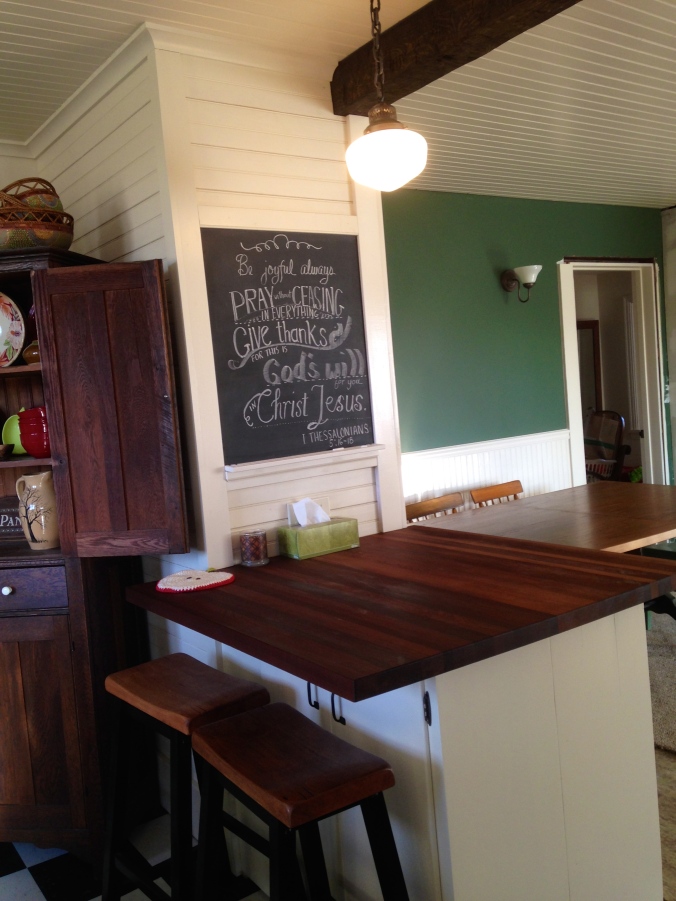
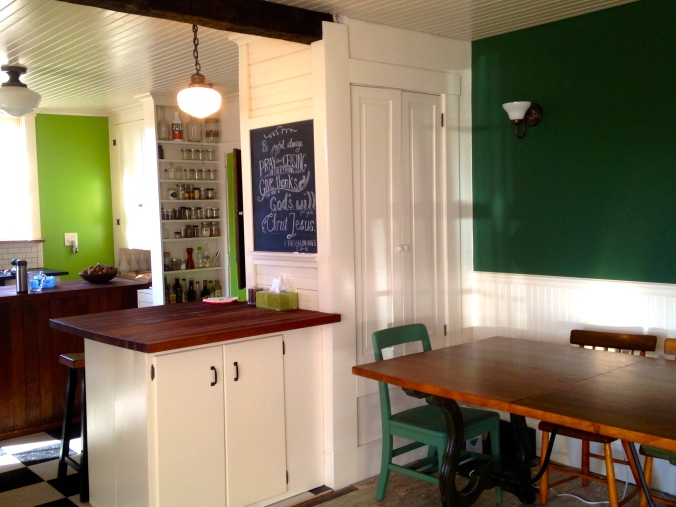
We still don’t have the shower in, but here are some before, during, and after shots:

THE FLOOR: (tongue and groove yellow pine, still available at fine lumber yards everywhere…)

THE HEATER VENT:

THE TOILET ALCOVE:

SAME SHOT, DIFFERENT YEARS….

THE VANITY TOP, SINK, AND FAUCETS:

Here are some close ups:

We still have the shower to do…But we’re taking a short break to recover, and try to remember: how was it we were going to put the shower in, anyway?

100. The Not-final Kitchen post

See that 100 up there before the title? I’ve spent the last few weeks wondering what I was going to write about for my 100th post. Big time writer’s block? Afraid of a number? My WordPress statistics tell me I’ve already written 100 posts, it’s just that two of them weren’t numbered. I started the numbering system after the first few posts, because originally? This blog was for me. For us. So we could keep track of what we’d done on the cottage. I wanted an orderly progression of ugly, uglier, better, beautiful. (And heaven knows, something needed to be orderly in my life.)

For a long time, I thought my 100th post would be the Final recap of the kitchen. The Biggie. 100. The Complete Cottage Kitchen Renovation for Less than $10,000.

We did stay under budget, but there are still a few things left to do, and I can’t write a final recap post when the kitchen isn’t final yet.

But I can do everyone’s favorite — Befores and Afters! (Is there anyone who doesn’t like before and after shots???)

70s kitchen

Before.
You can see the sample flooring, but that was the expensive stuff — we bought simple Armstrong VCT.

New old door $35 from Habitat for Humanity. Hardware $45 from Construction Junction.

New old door painted Blooming Grove (Ben Moore) from Habitat for Humanity. The lovely creamy white color is Sherwin Williams Steamed Milk

IMG_2896

Before…

And the same space now…

You can see that the subway tile doesn’t yet go around the corner. And there will be appliance shelves above the tile. Oh and real electric outlets…

This is a close-up of the soapstone countertops and sink. You can read about our soapstone love affair and adventures here.

Even after some nicks and dents and scratches, we still love the soapstone.

This...

This…

…to this!

…to this!

This corner below made it into the recent post about the orange phone. (You can read that one here.)

IMG_1695

corner with fridge

We don’t have any before photos of the little pantry that we demolished — it was just to the right of this door below:

But we do have a lovely shot of the hole that we found when we took out the wall. These next two pics are of the same space — about 16 months apart… I made the first picture small on purpose — no one wants to see how awful it really was.

hole in the wall

Discovering this was one of the low points…

The chalkboard was my Christmas present...

The chalkboard was my Christmas present…And the peninsula covers that hole nicely. The butcher block wood is Sapele from Hardwood Lumber Company in Ohio. You can read about it here and here.

From this above photo you can look in and see the almost finished dining room. You can see that the trim isn’t finished around the door, the crown still needs to be put up (we just finished the ceiling this past weekend!), and the mirror between the sconces still is leaning against the fifth wall… But yes, life is good.

Dining Room before

View of Dining room into kitchen

and what it looks like now.

Just a few Post Scripts: Some of the walls you see aren’t there any longer — we took out some half-walls here and there. The only things kept from the original kitchen were the windows, the light with a pull chain above the green door, the fridge, and the built-in cupboard. Oh, and the pantry sign. We’ve still got art to hang, and finishing touches to do, and now that I see the bushel baskets on the fridge, I think they have to go… But it is Apple Hill Cottage after all, so they’ve got to find a place somewhere…

36. Befores and afters

We’ve been working nonstop here at the cottage, but sometimes, like life, the actual progress goes in fits and starts. Working on the windows is slow going; we are 3/4 of the way finished, and it seems we’ve been scraping/sanding/repairing/priming/painting them forever. And we’ve been working on the outside of the house (it is a Whole House after all, not just a kitchen…) to protect it from winter. So the BIG kitchen stuff — like walls and floors and doors — has been proceeding on hold. (I had to say that; it’s one of Mr. H.C.’s favorite sayings.) Hence this post is more for me than you. It’s to reassure me

    that work IS being done;
    that we ARE progressing;
    and that we WILL get to the end of this kitchen project.

To that end, here are some before and after pictures:

20121122-223036.jpg

The front entrance Before — one of 5 pairs of sliding glass doors…(We’re down to 3!

20121122-223108.jpg

The front entrance After — at the end of the weekend and the sun is setting, but it’s in place!

It took weeks, but those cabinets did get sanded, and their hardware put in place:

20121122-223214.jpg

One of a whole pile of UGLY kitchen cabinets Before

20121125-184446.jpg

…and the same cabinet After

Very few doors in the cottage are staying the same:

This was the old door going down to the pantry. This photo doesn’t show that it was actually sawed in half! A homemade Dutch door…

And this is the new door After. It cost $30 at the Restore in Washington. It is primed, but still awaiting the right color of green. (Then the yellow tape will come off as well.)

This cupboard was the one item in the kitchen that I could easily picture as beautiful before it was redone:

20121122-223524.jpg

The built-in cupboard Before…

And my favorite, the cupboard After with its beautiful paint, new hardware, and new-old wooden top.

And if you squint your eyes just right, you can almost picture the kitchen as it will be someday:

I titled this photo Lovely Kitchen 2 B. (If you look closely, you’ll see the After result of the orange schoolhouse light in one of the earlier photos. We kept the pull chain, though)

Well, I don’t know about you, but after seeing these photos, I feel better! Onward…