79. The Corner Dining Room

I know, I know, you’ve seen beautiful pictures of the kitchen, beautiful pictures of the bedroom — you must think we’re about done by now, right?

Today it is back to ugly pictures again, folks.

In between the kitchen and the bedroom is the corner dining room. Well, the living room is there somewhere too, but we’re skipping that for now…

Sapele butcher block counter top

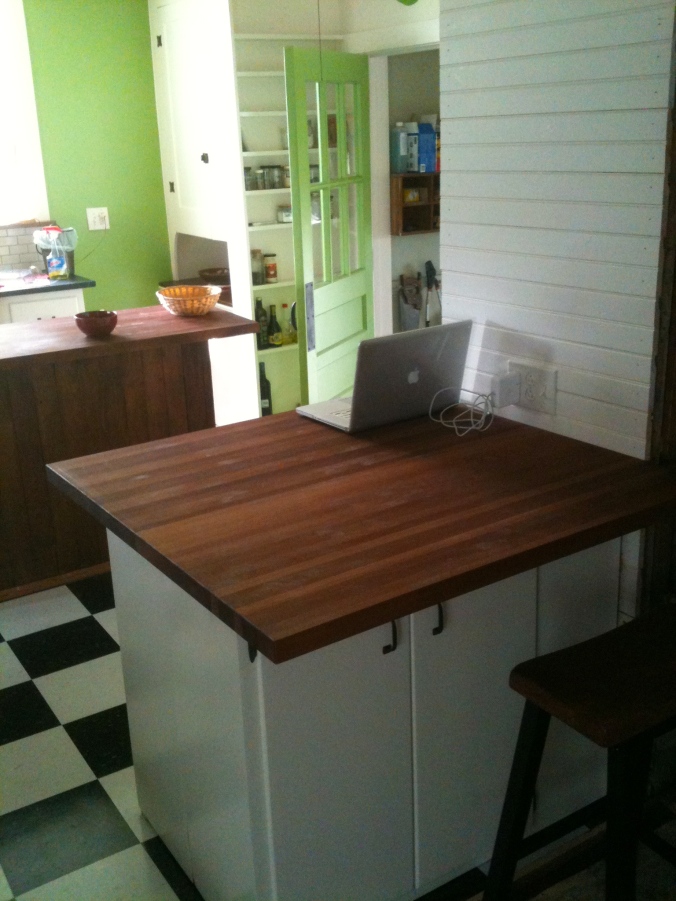
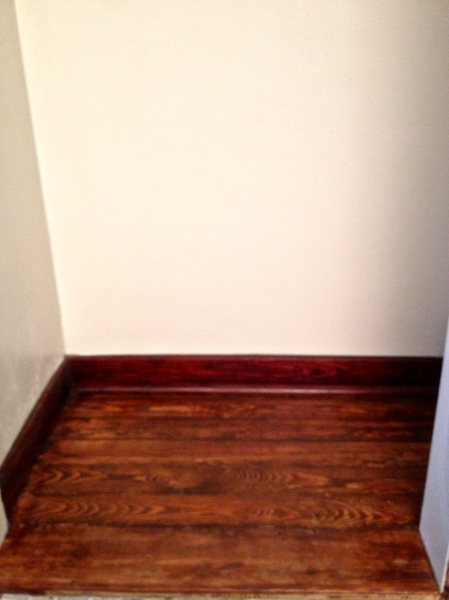
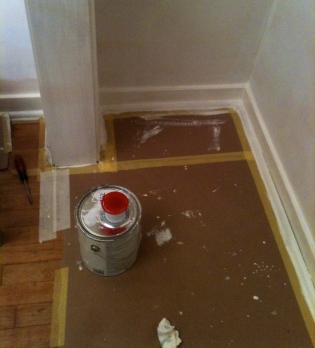
Right next to this lovely peninsula is this not-so-lovely little closet.Dining room closet
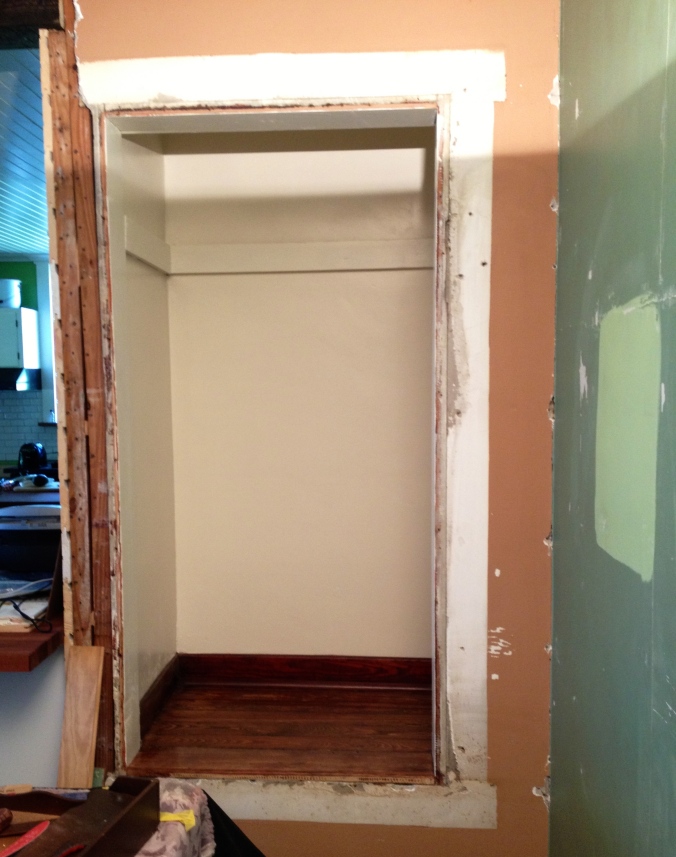
Actually, I’ve been working on it, and it is much better than it was. Inside. The doors to this little closet will be charming when they are finished. They were in my sanding room for awhile…Of course, they were painted orange.

I couldn't get all the orange paint sanded off, so I did the best I could and then just primed the heck out of them

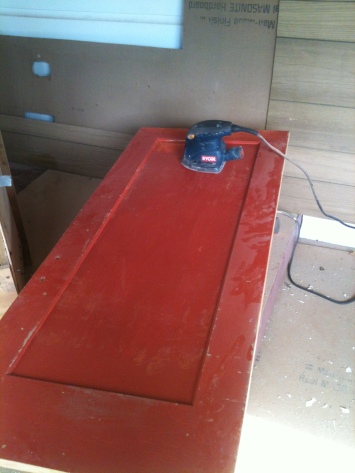
I couldn’t get all the orange paint sanded off, so I did the best I could and then just primed the heck out of them

Dining room closet doors painted with Sherwin Williams Steamed Milk Satin

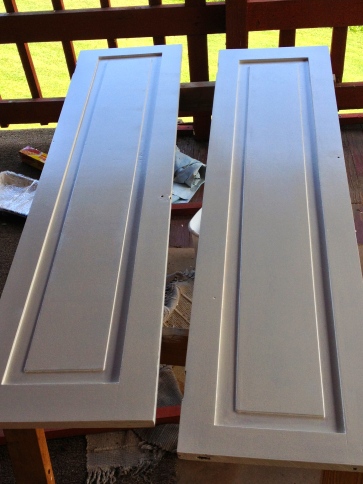
Here they are painted with Sherwin Williams Steamed Milk.

Inside the closet the first floorboard is a white pine plank; the rest of the boards are yellow pine flooring boards. It took MUCH effort to get the two types of wood to stain the same. The front plank has so much stain painted on it, that it may never dry..


Notice the good job of matching two different types of wood -- white pine and yellow pine.

I’ve been trying out green samples on the dining room wall. Very light, sort of light, and as dark as I want to go. None of them seemed right.

Greens on the Dining Room wall

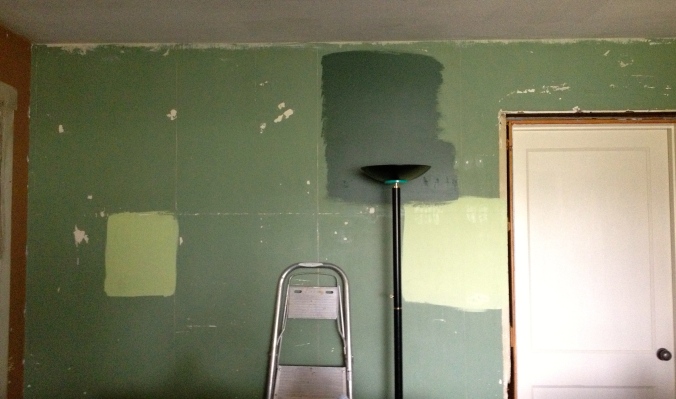
Still life with lamp and ladder…

Then one evening while I was poking around on Retrorenovation.com I found the answer! Vintage Wallpaper! All colors of greens in one wall, which is just what I was trying to figure out how I could do! It’s perfect. I hesitantly brought it up to Mr. H.C. who immediately said he was game. (That was before he saw the price! :-) ) Now if I can only decide…I’ve got two samples coming from Hannah’s Treasures. I’ve put three in this blog post — comments please! Which ones do you like?

e908badabf3f114e94393a4bcdfc1857b51306255818cce6023ebd6ae950248f

Vintage wallpaper from Hannah's Treasures.

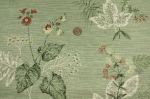
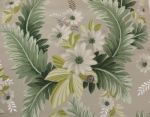
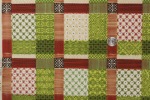
Vintage wallpaper from Hannah’s Treasures.


I didn’t order a sample for the bold plaid one on the right, because as soon as Mr. H.C. saw that one, he started shaking his head. I think he just doesn’t like it because it reminds him of the wallpaper he put up (on the same wall) for his mom, Clara in the seventies. (See post 1. The Story of Apple Hill Cottage.) Here it is:

This is the wallpaper that covered the door...

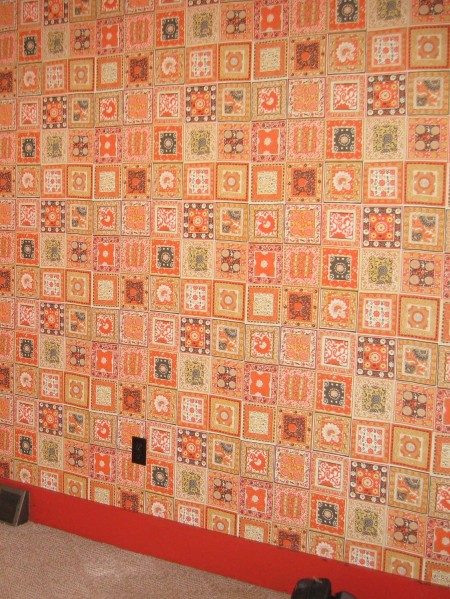
This wallpaper covered the door beside it as well… I think it is fitting that this wall be covered in wallpaper again!

Mr. H.C. assures me that it isn’t the wallpaper it reminds him of, it was a pair of his Dad’s golf pants… Okay, well I might give him that; I think my dad had a pair too.

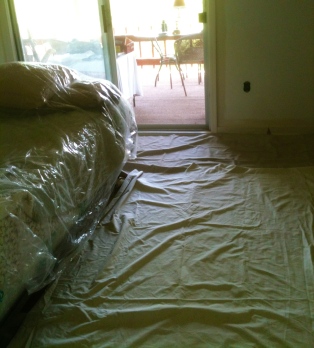
I could go on… and on… about the floor, and the trim, but I won’t. I WILL show you just one more photo of the dining room table treasure though. We found it ages ago at a ReStore for $35, and it has been sitting in the dining room under three layers of plastic and tarps to protect it from all the junk on top of it.

harvest table
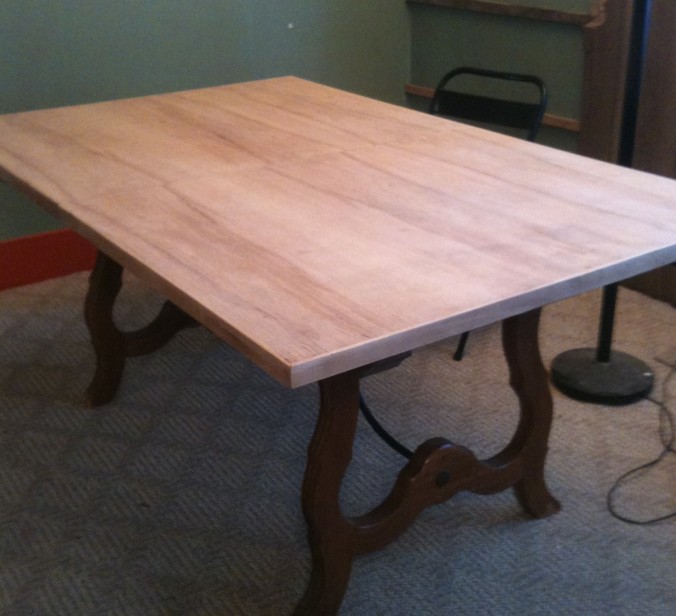
The top will be stained a darker, rich wood color. I’ve been thinking all along to paint the legs black, but I think I’ve changed my mind, and I’m going to go with the dark green (Benjamin Moore Peale Green) that is on the wall. And a couple of chairs painted that same dark green? What do you think? That’s at least two questions to comment on!

So, are we wallpaper lovers, or not?

76. ReHabitat-ing the Yellow Bedroom, Part 3

The yellow bedroom is yellow no more. Even the closet has not a vestige of yellow left! We are mulling over a new name — just “the bedroom” doesn’t adequately cover its transformation. The change has been slow. I’ve been working on it by myself when unskilled labor is not needed in the kitchen. Taping and priming and painting the woodwork,IMG_1955IMG_1993 
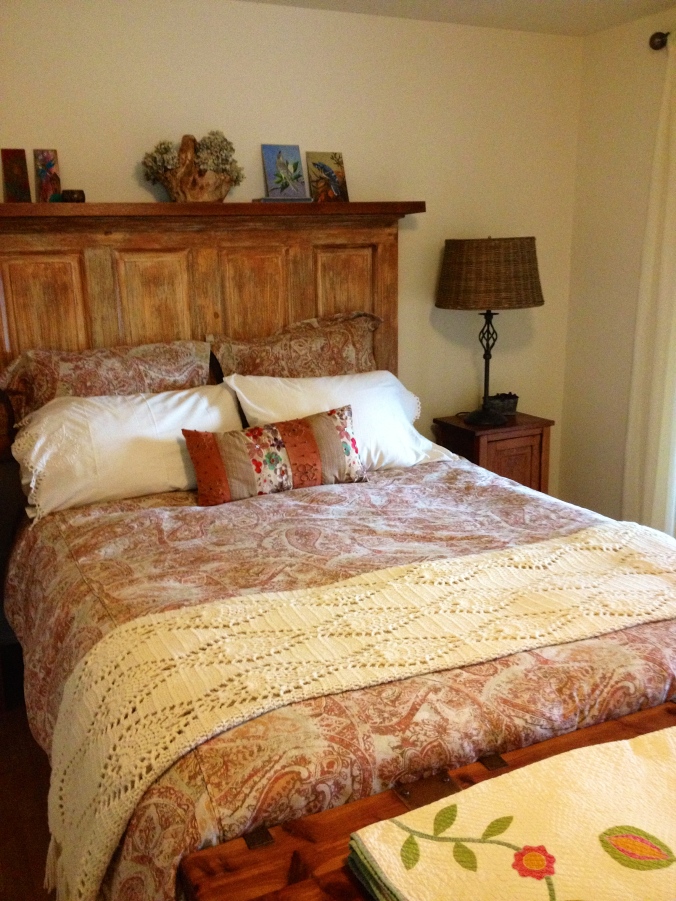
patching the walls, taking off doors, priming and painting the closet, sanding and painting doors… It all sounds impressive, but it wasn’t. It was tedious, hard-on-the-poor-old-knees-and-back work. Mr. H.C. stopped work in the kitchen long enough to help me do the actual painting of the ceiling and the walls. There are still some minor embellishments to be added — I’m working on the bedskirt, the bed will be getting some fancier pillows, and there are still pictures to hang on the walls — but it sure looks amazing to us! Come in for a peek —

IMG_1153

What I really like about this room is that mostly we’ve used antiques and family collectibles that we already owned. The dresser, the metal shelf and the quilt belonged to Clara, Mr. H.C’s mom who slept in this bedroom long before we did; the nightstand belonged to Mr. H.C. when he was a little boy and still known as Mikey; the cedar chest was made by Pa — my grandfather who first built the cottage; Dad made the little wooden lamp, and the mirror and the bookstand under it came from him as well; my mom painted the birds. And Diane and Emily, my sister and niece gave us the footprint for the colors, the design, and ideas on how to use the furniture.

New closet doors

That’s Clara’s appliqued quilt on the cedar chest. She told us it was probably the most valuable thing she owned. We’ve found the date on it, but it is embroidered in white on white and it’s hard to read — 1882 or 1932 — we just aren’t sure.  Clara gave me a whole bag of vintage linens before she died, because she knew I love them;  the two pillowcases on the bed and the lacy cloth hanging on the shelf are part of her collection. Sanding old doors
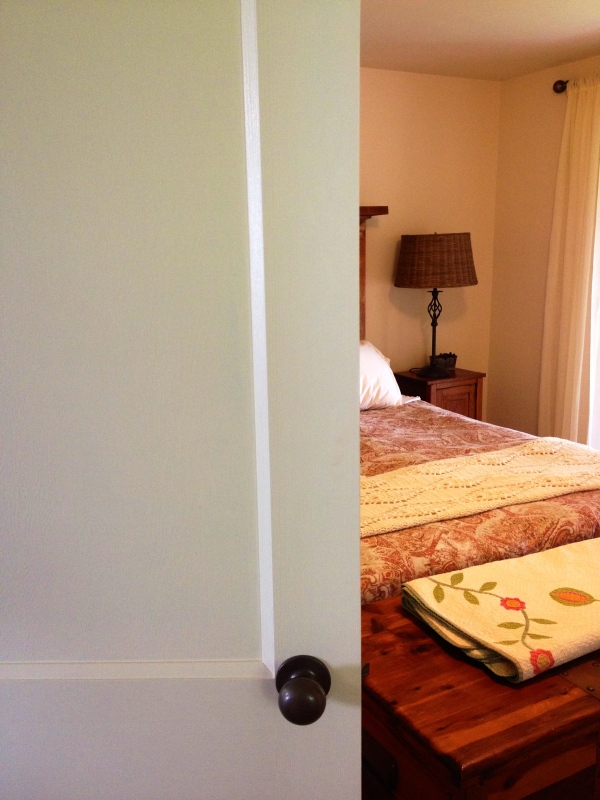
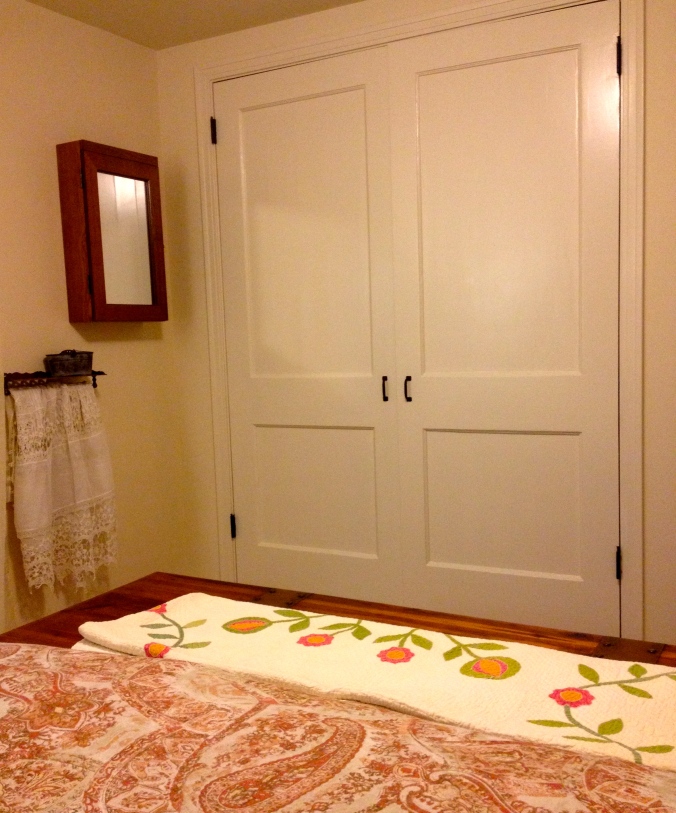
The closet doors were old fashioned paneled doors that Mr. H.C. found at Construction Junction for $30 each; we were delighted to get rid of  the boring sliding doors that didn’t slide. The new/old doors were in my sanding shop for several days (five coats of paint and shellac as the bottom layer!) and then primed. Mr. H.C. hung them, and unlike usual, we painted them after they were hung. The handles were left over from our kitchen cabinets. If you are reading about this bedroom for the first time, its transformation was planned by the online decorating company,  ReHabitat Design and you can read about the stages in posts 37 and 43.
Bedroom Remodel
IMG_2479

Pa — my grandfather who built the cottage originally — made the cedar chest as a Christmas present for my grandmother in 1924 — he even put a plaque on it. Before we brought the chest down from our city house, we were skeptical whether it would fit. After we put it at the foot of the bed, Mr. H.C. said, “This actually makes the room seem bigger, dont’cha think?” Yes, I do.

The headboard is made from an old door that Mr. H.C. scored (also from Construction Junction) for fifteen dollars. He cut it off at five feet to fit our queen-sized bed, and I sanded it. The inspiration for this is from the website Hometalk: I really liked the look of the door on this website, but doors have different personalities after sanding, and I had to respect what it was. I fooled around with paint and glaze and came up with this. It isn’t exactly what I had envisioned, but I was trying to be open about this project, and we both like how it came out. IMG_2476

The oak shelf on the top was taken right off the wall in the living room where it once was Clara and Joe’s mantle. It fit perfectly on the headboard; I think they would be pleased. And my mom painted the birds that sit on the shelf. They used to be in the bathroom in the house where I grew up; I love them on this headboard shelf.

Closet doors are painted Sherwin Williams Steamed Milk, semi-gloss.

This mirror and little bookshelf/table under it came from my dad; he also made the small wooden lamp on the dresser.

Sister Diane made the hand-crocheted afghan that’s on the bed for my mom many years ago. I bet she wants it back now. :-) And the pretty little carved basket on the headboard shelf was a Christmas present from sister-in-law, Rita.
headboard made from old door

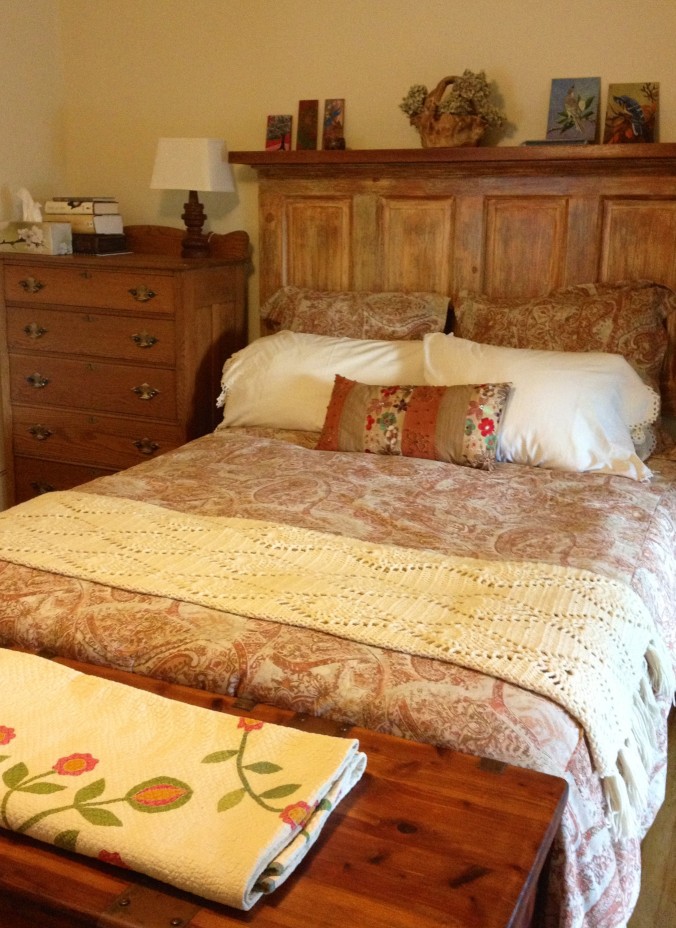
These new finials dress up Clara’s old curtain rod, which I spray painted eons ago. The finials were new from Bed Bath and Beyond and they didn’t fit the old rod. But Mr. H.C. cut a piece of wood to fit in the rod and added a couple of screws — Voila! I think he can fix anything… And just in case you forgot what the room used to look like…

yellow bedroom
Factoids: The wicker lampshade, the duvet cover and shams, and the curtains are from Pottery Barn. The two other lampshades are from Target. The curtain rod finials are from Bed, Bath, and Beyond, but don’t count on them fitting any other curtain rod except the ones that are sold with them! The rug on the floor was from Rug Depot a few years ago, but it is still a great place to buy rugs and runners. And the little art on the left of the headboard is from a great little Etsy shop, McWissenville. The walls and ceiling are painted with Benjamin Moore Winter Wheat (232) matte; the trim and closet doors are painted the same shade we used in the kitchen — Sherwin Williams Steamed Milk  (7554) semi-gloss. The paint and glaze for the headboard came from Sherwin Williams as well; the color is Brandywine.

69. Rounding the edges…

While I was having fun in the sun on the first ever Sisters’ Vacation, Mr. H.C. was hard at work. When I asked him over the phone what he was doing, he said, “Oh, working…” So I let it alone, and wondered what project he was doing… He had permission to organize his shop, lay in the hammock under the trees, and take naps.

He admitted to laying in the hammock for fifteen minutes one evening (see post 18. Gifts of Time.) but he declined to take any naps. This is the almost-finished project that greeted me on Saturday evening.

IMG_2191

This project included insulating the space that was “the cave under the cottage“, wiring the cave so there would be a permanent light there, hanging and electrifying the schoolhouse light fixture over the counter, finishing the outlets and wall switch, bolting the two cabinets together, and adding the butcher block top. (And pouring glasses of wine…)

On Monday, I added the doors to the cupboards — it took me hours to find the hinges, spray paint the hinges, find screws that would fit, and put the closers on the doors. I wouldn’t do well being paid for my labor, but the end result was pleasing.New counter top in kitchen

New countertop in kitchen

The butcher block top is not yet bolted down; we are still trying to decide which side will get the overhang — the kitchen or the dining room. I was thinking of voting for a symmetrical look of even on both sides.

I’m thinking that the countertop is too square; Mr. H.C. doesn’t want to hear it. I would like to curve the ends on one side. Correction: I would like Mr. H.C. to get out whatever saw will work and curve the ends on one side. He’s still thinking about that; the other option would be to round the edges on the end — you know, where everyone would walk through, bump against the corners, and bruise their hips? Kind of like life? Rounded edges are better than sharp corners…

Here’s the photo that was my inspiration:

rounded corners on countertop

See how the edges of the island are gently curved on one side?

Do any of you out there in reader-land have an opinion on this?