Is there any squash with better flavor than butternut?
It’s the only winter squash I’ve ever grown, because, really, why grow anything else?
The groundhogs like it too. 
This summer, from four hills of squash, we grew 24 lovely butternuts. And seemingly overnight the groundhog took one or two bites out of half of them. When I discovered the treachery, I covered the garden plot with fencing, just casually thrown over the plants. It seemed to work, and the twelve unblemished squash remained perfect. They are currently curing in the side yard with some early onions.
But that left twelve of these beauties that couldn’t just be stored for fall.
I’ve been trying to can rather than freeze, because our freezer is full, and there’s not much room for anything extra. So I found this website from the University of Minnesota that recommends canning cubes of squash or pumpkin for 90 minutes (quarts) in a pressure canner.
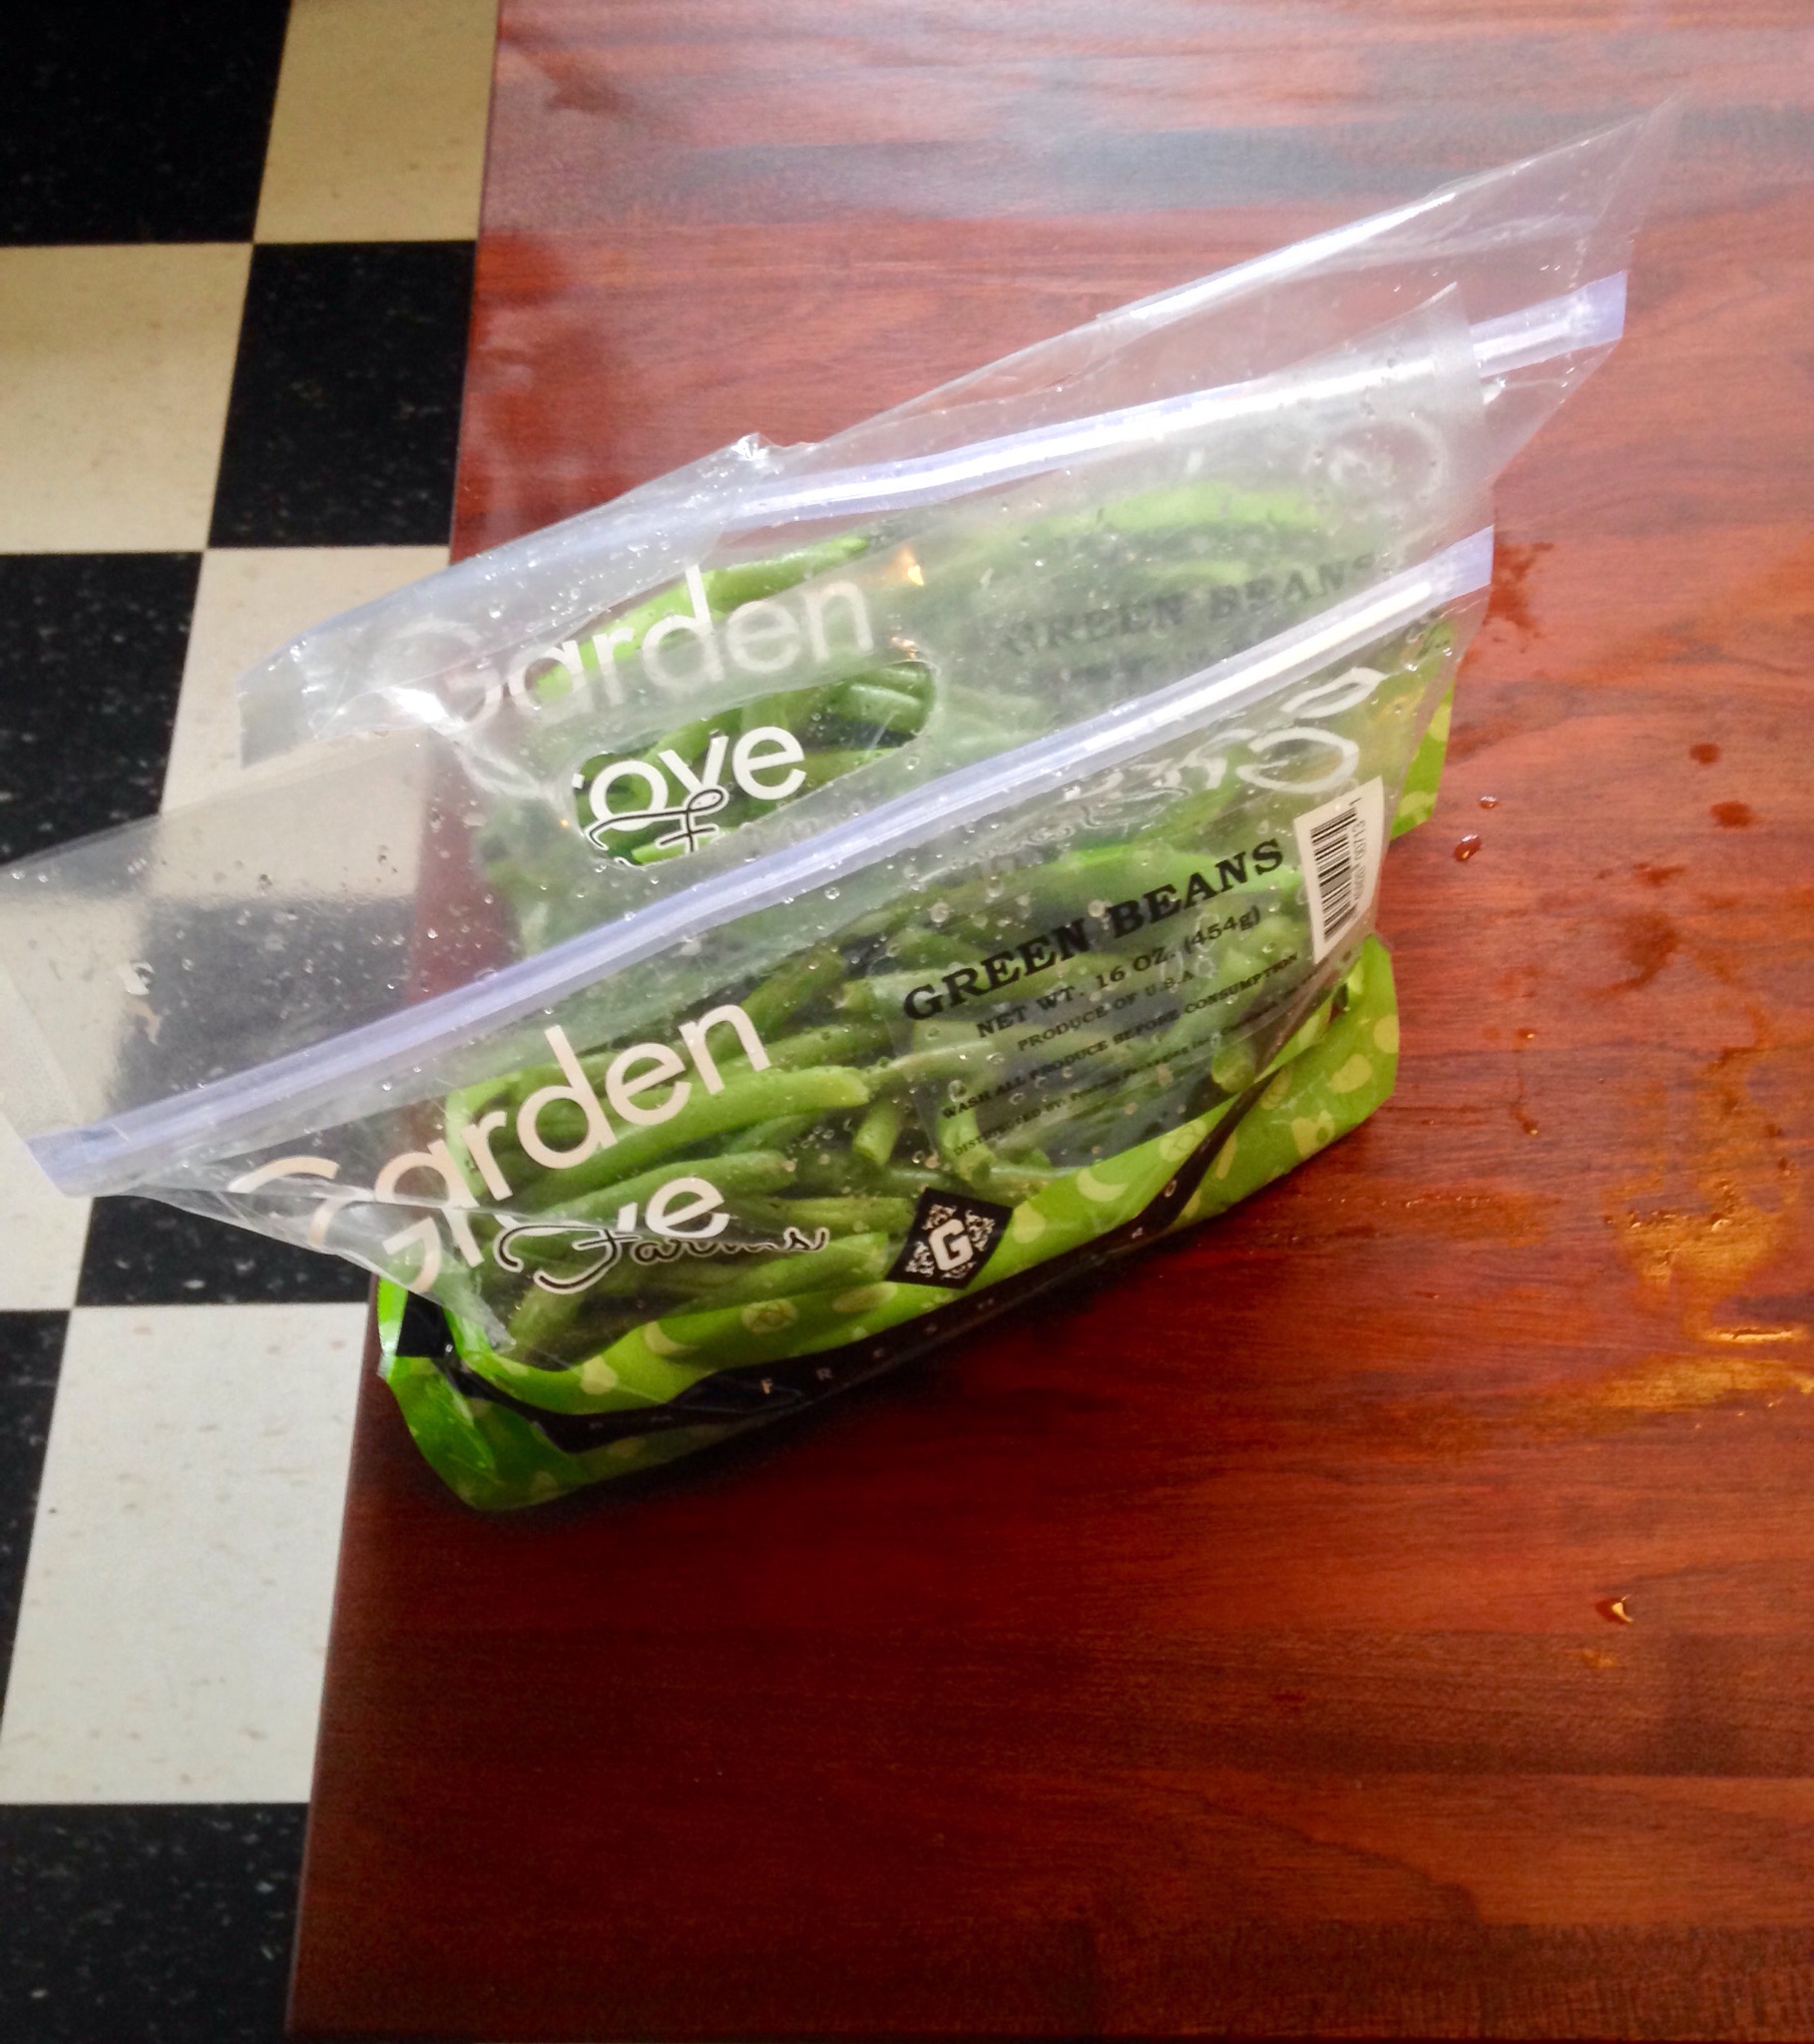
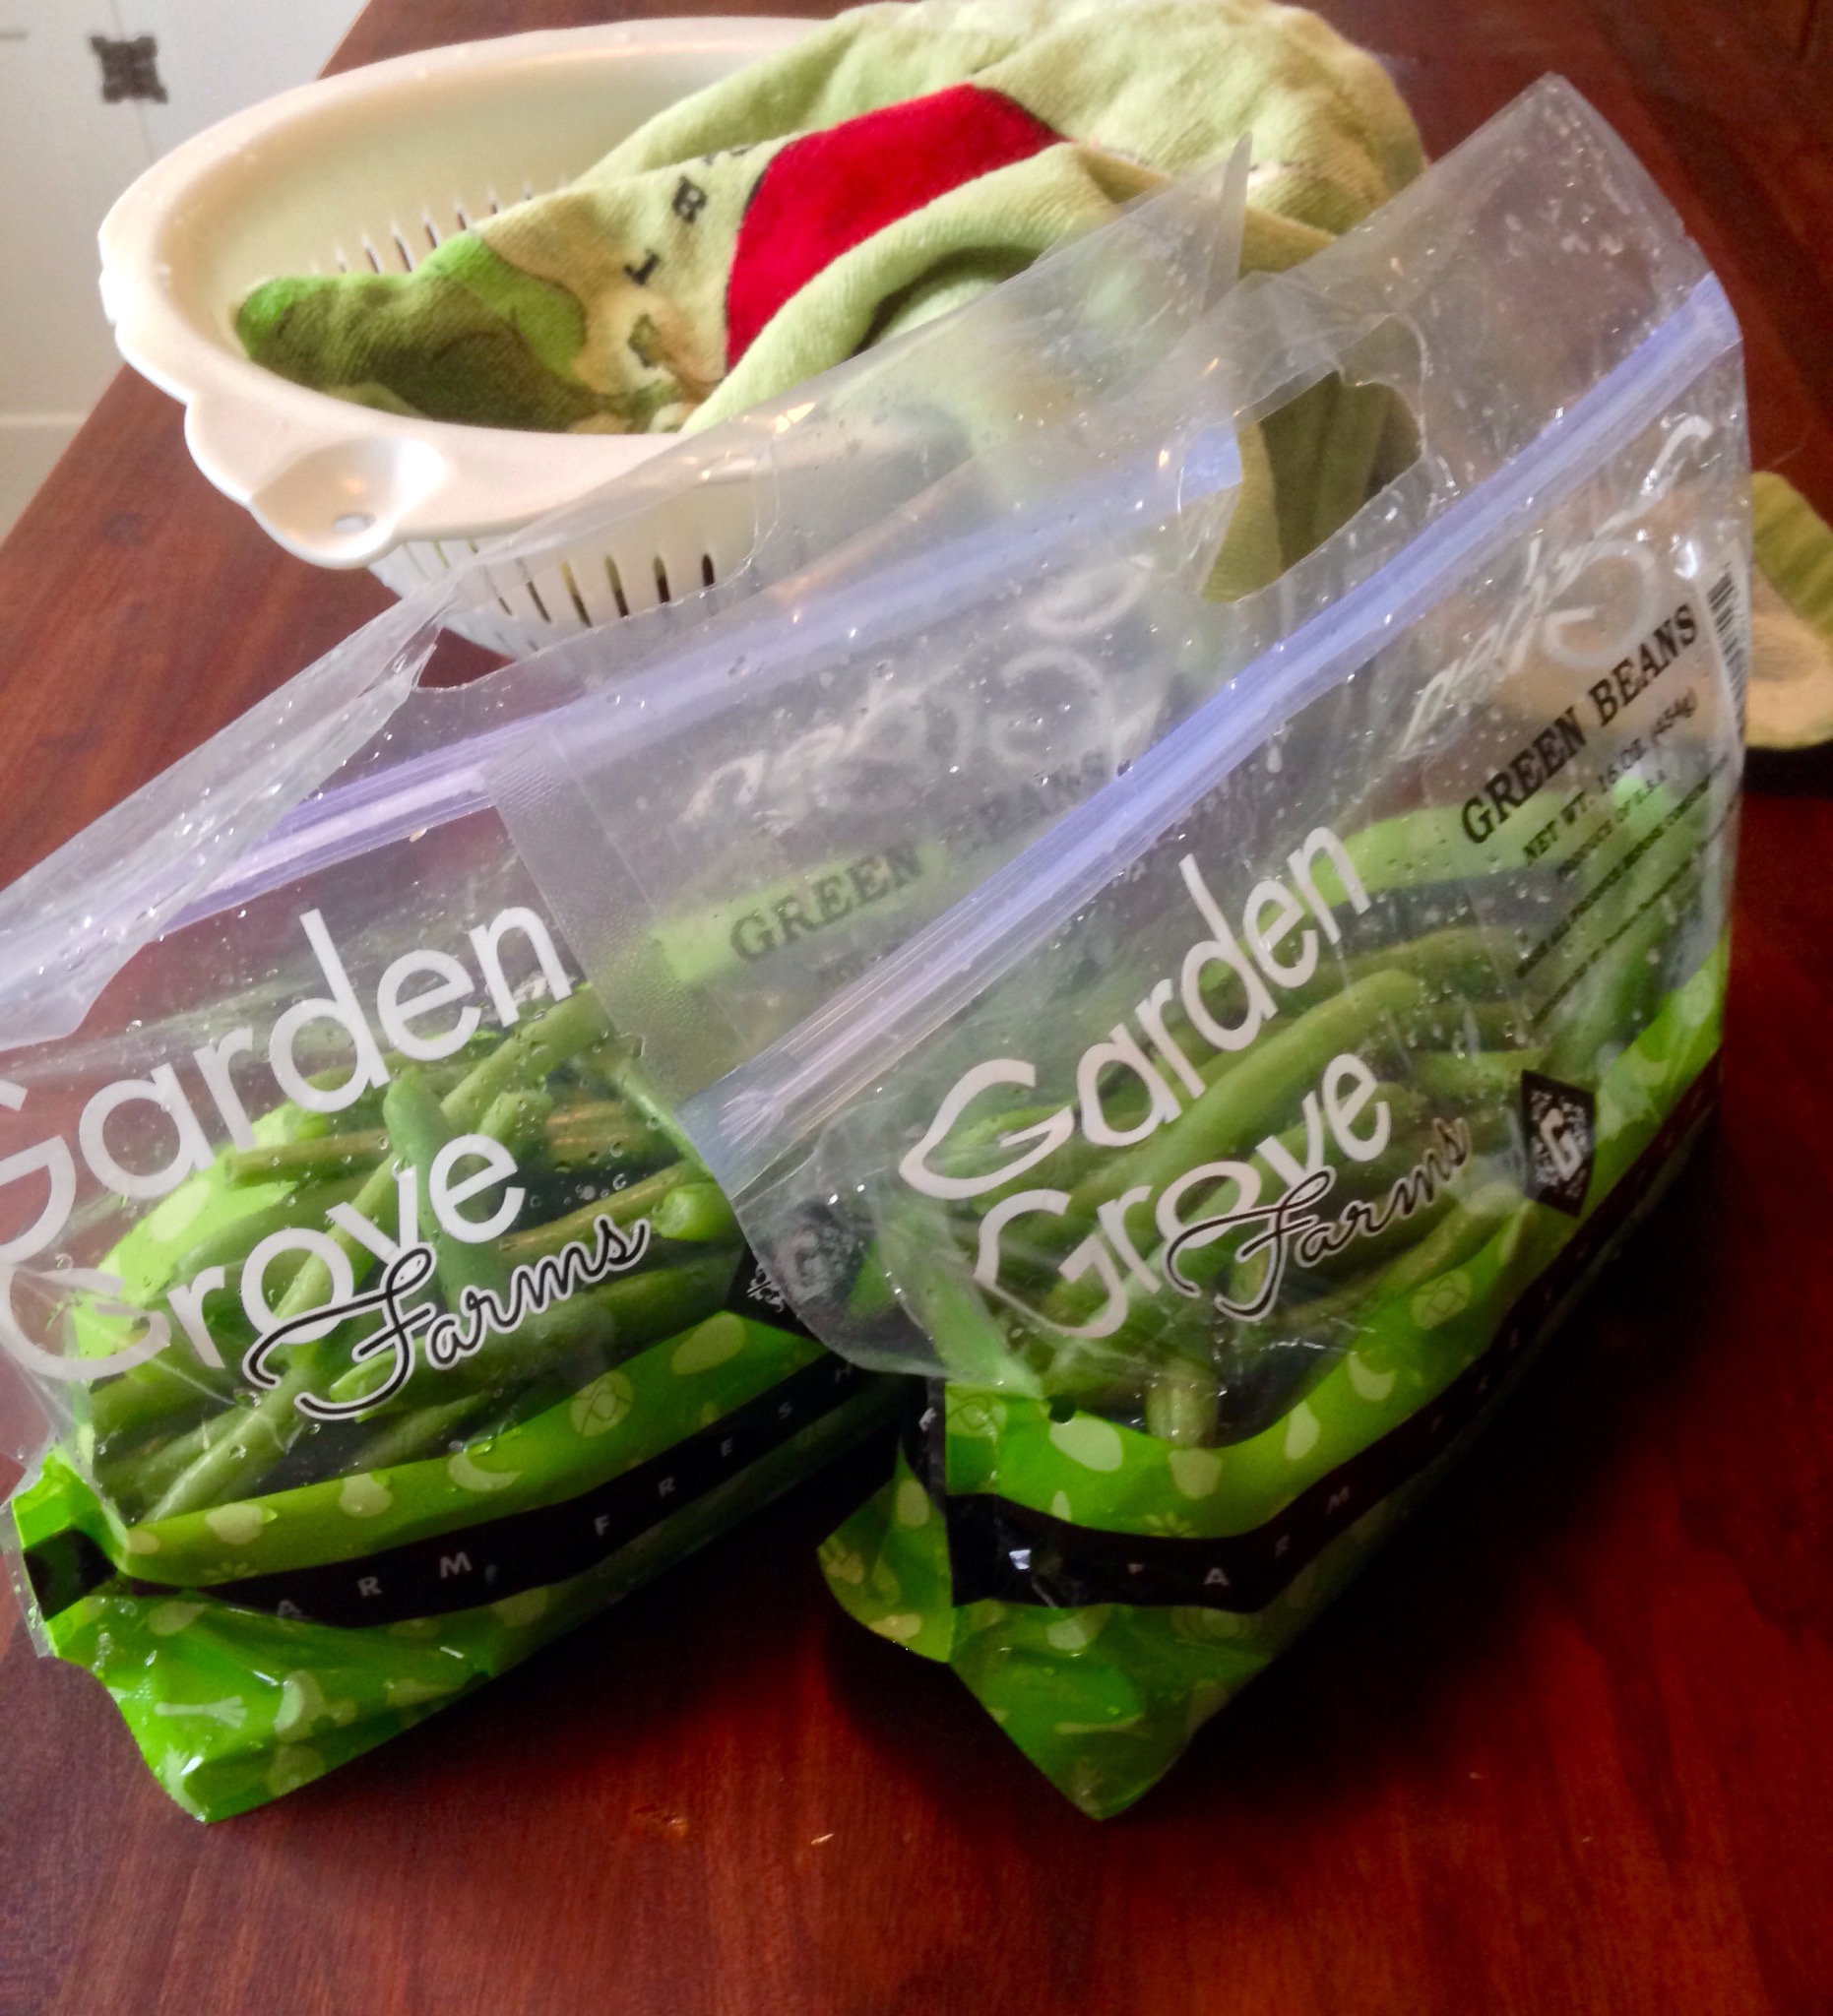
Yes, I had just purchased a lovely made in USA granite-ware pressure canner; and I had two loads of green beans under my belt. I was ready for the 90-minute ordeal…
 I peeled and chopped and steamed twelve butternut squash, just cutting out the groundhog bites — they were only skin deep, mostly — although there was one that he had obviously had for salad, dinner, and dessert. I only got half of that one…
I wish I had taken a picture of those lovely five quarts of squash for you.
But sixty minutes into the process, I could smell burnt squash. Not good.
I turned off the heat, waited until the pressure dropped, and opened the lid. The water in the canner was gone; it had boiled or steamed or vaporized away…
So now I had five beautiful quarts of squash, just waiting to be botulized.
I let them cool, and the next morning drained all the cubes of semi-canned squash into my big colander, smashed and squashed the squash into puree and put it into bags for the over-crowded freezer.

The El Cheapo Method for vacuum packing: Zip the bags most of the way closed, insert a straw just a little way inside and suck the air out of the bag. Zip it shut quickly while pulling out the straw.
Yes, I only got three bags, because I MADE A PIE with the other two cups. We ate it so fast I didn’t get a picture of the pie either. But here you can see the gorgeous orange of fresh squash. We had some for dinner that night as well. It was the most delicious squash we’d ever eaten — picked that day.
My pie recipe was just a regular pumpkin pie recipe using the squash instead — though I do highly recommend the addition of cardamom with the spices. Instead I give you three! yes, three! simple recipes for that delicious butternut squash you are going to buy at your local farmer’s market soon.
Recipes for butternut squash:
Roasted Butternut Bites

Peel squash and cut into cubes. Discard seeds. Toss with olive oil, sea salt, pepper, and balsamic vinegar, and roast in the oven at 425 for 30 minutes, turning the cubes with a spatula every ten minutes. Squash candy…
Fall Butternut Casserole
- 1 large butternut squash
- 2 medium onions
- 2 eggs
- Fresh nutmeg and thyme to taste
- 1 c. grated sharp cheese
- panko or roughly chopped pumpkin seeds for topping, optional
Halve a large butternut squash, and scoop out the seeds. Brush with olive oil and place face down on a cookie sheet and pierce skin with a fork several times. Bake at 350 for 45 minutes or so, until squash is tender. Let it cool.
While the squash is cooling, chop two onions and sauté them in a skillet with olive oil or butter. Add some herbs — thyme is good, and freshly grated nutmeg. Beat two eggs in a bowl, add the onions and herbs and a cup of grated sharp cheese. Salt and pepper to taste, and pour into a greased casserole dish. If you like, you can cover the casserole with panko crumbs. (Another optional topping is roughly chopped pumpkin seeds.) Bake at 350 for 40 minutes.
Squashed Date treats
I have to say I’ve been meaning to make these for months, and I’ve just put it off, so I made a batch finally — especially for this post (and Mr. H.C. needed a treat for his lunch tomorrow) And yes, I’m sorry I put these little treats off for so long. Yummy and healthy, and a quick little snack — with NO ADDED SUGAR! All told, it took about 20 minutes. I found this recipe on Paleo Grubs, but I changed it up a bit.)
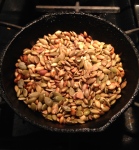 Toast 1/2 c. nuts — pecans, walnuts, cashews, or pumpkin seeds and grind them small. I left mine a little chunky because that’s the way I like them.
Soak 1 c. pitted dates in just a little hot water for 10 minutes, so they get soft, and then drain them.
Puree or mash 1/3 c. squash (I had canned pumpkin in my cupboard expressly for this recipe, but why open a can when you’ve got fresh squash?)
Put these three ingredients in your blender or food processor. Add 2 t. vanilla, 1 t. cinnamon, 1/2 t. freshly grated nutmeg and 1/4 t. ground cardamom and a pinch of sea salt. Pulse until the dates are chopped up to your liking. I added a little bit of the sweet date water to help; if you have a food processor, you might not have to do that.
 Scrape your blended mass into a bowl; add 1/4 c. unsweetened coconut flakes, and stir. Roll into one inch diameter balls. Refrigerate for 30 minutes if your dough is too soft to roll. Mine wasn’t. Now you could roll the balls in the coconut if you wanted. It might make them less sticky to eat. I would have gotten 12 balls if I hadn’t been so eagerly testing them to make sure the spices were correct. :-) Store them in your fridge, if you have them that long…
Mr. H.C. gave them a thumbs-up.


 Back to cleaning the stove — the baking soda and orange vinegar did a perfectly serviceable job of cleaning the top. I had actually cleaned the oven about a month ago in anticipation of moving it, so all I did with the oven was give it a wipe down; but the baking soda and orange vinegar fizzed off the caked-on brown stuff on the glass of the oven door, too. It is so clean, it reflects the floor!

